Threading your needle - Learn This Modern Embroidery Technique
Introduction
Take your prepped thread (with the starter knot at one end), and pass the opposite end through the eye of your needle. Sounds easy right? In practice, not so much! But don’t worry, I totally understand that this can be one of the most challenging parts of your entire embroidery journey.
So let’s break down my usual method:
Step 1.
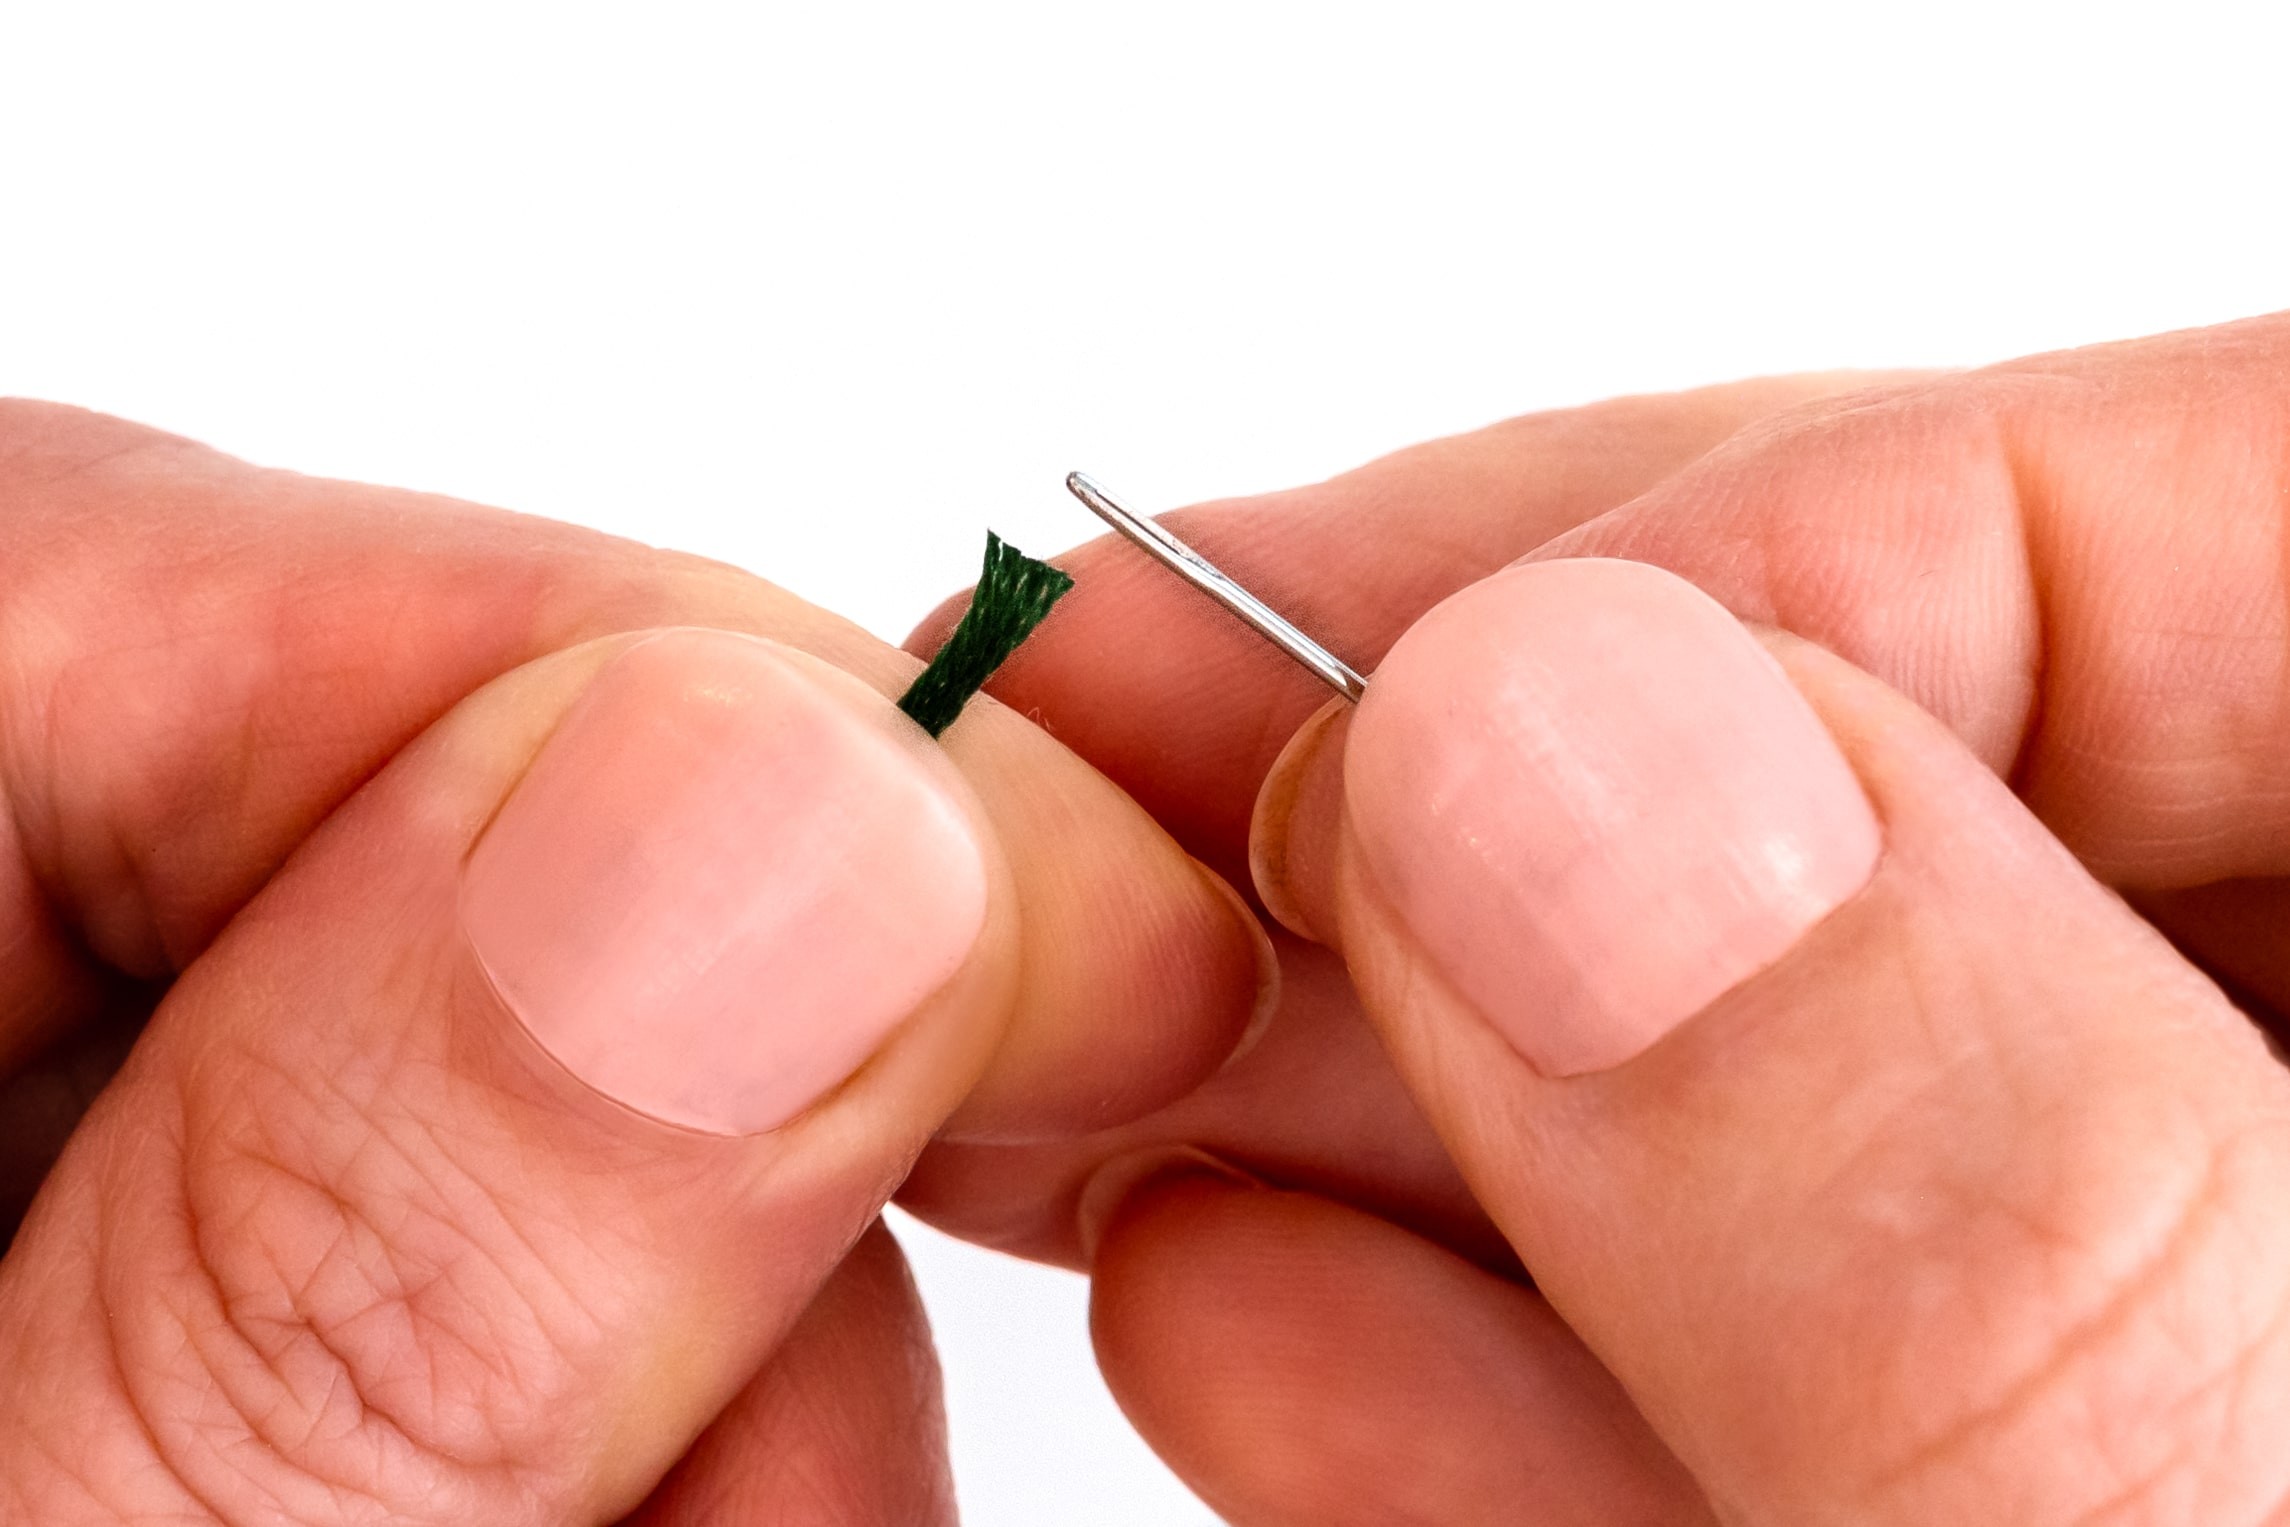
Hold the end of the thread super close to the end (about 1/4 inch), in your left hand (or opposite if you’re left-handed). The end should be poking up from your fingers quite firmly, not wavering around. And remember we’re holding the end that’s opposite to the one with the starter knot.
Step 2.
Hold the needle in your other hand, and hover it over the end of the thread, so that the eye is situated over top of the thread.

Step 3.
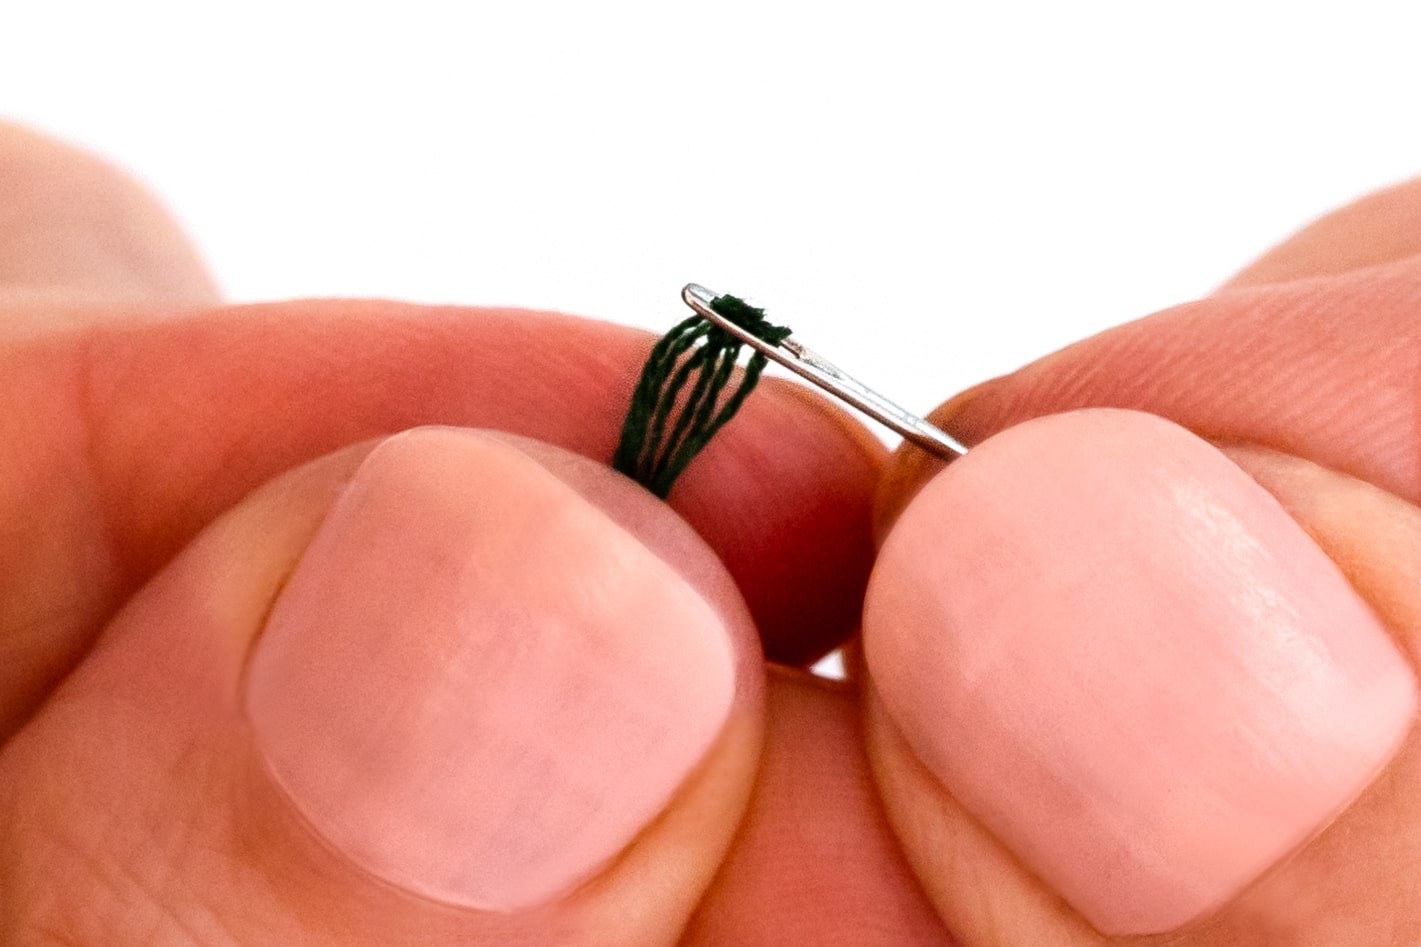
Now keeping the thread still, move the needle down and over the threads.
Step 4.
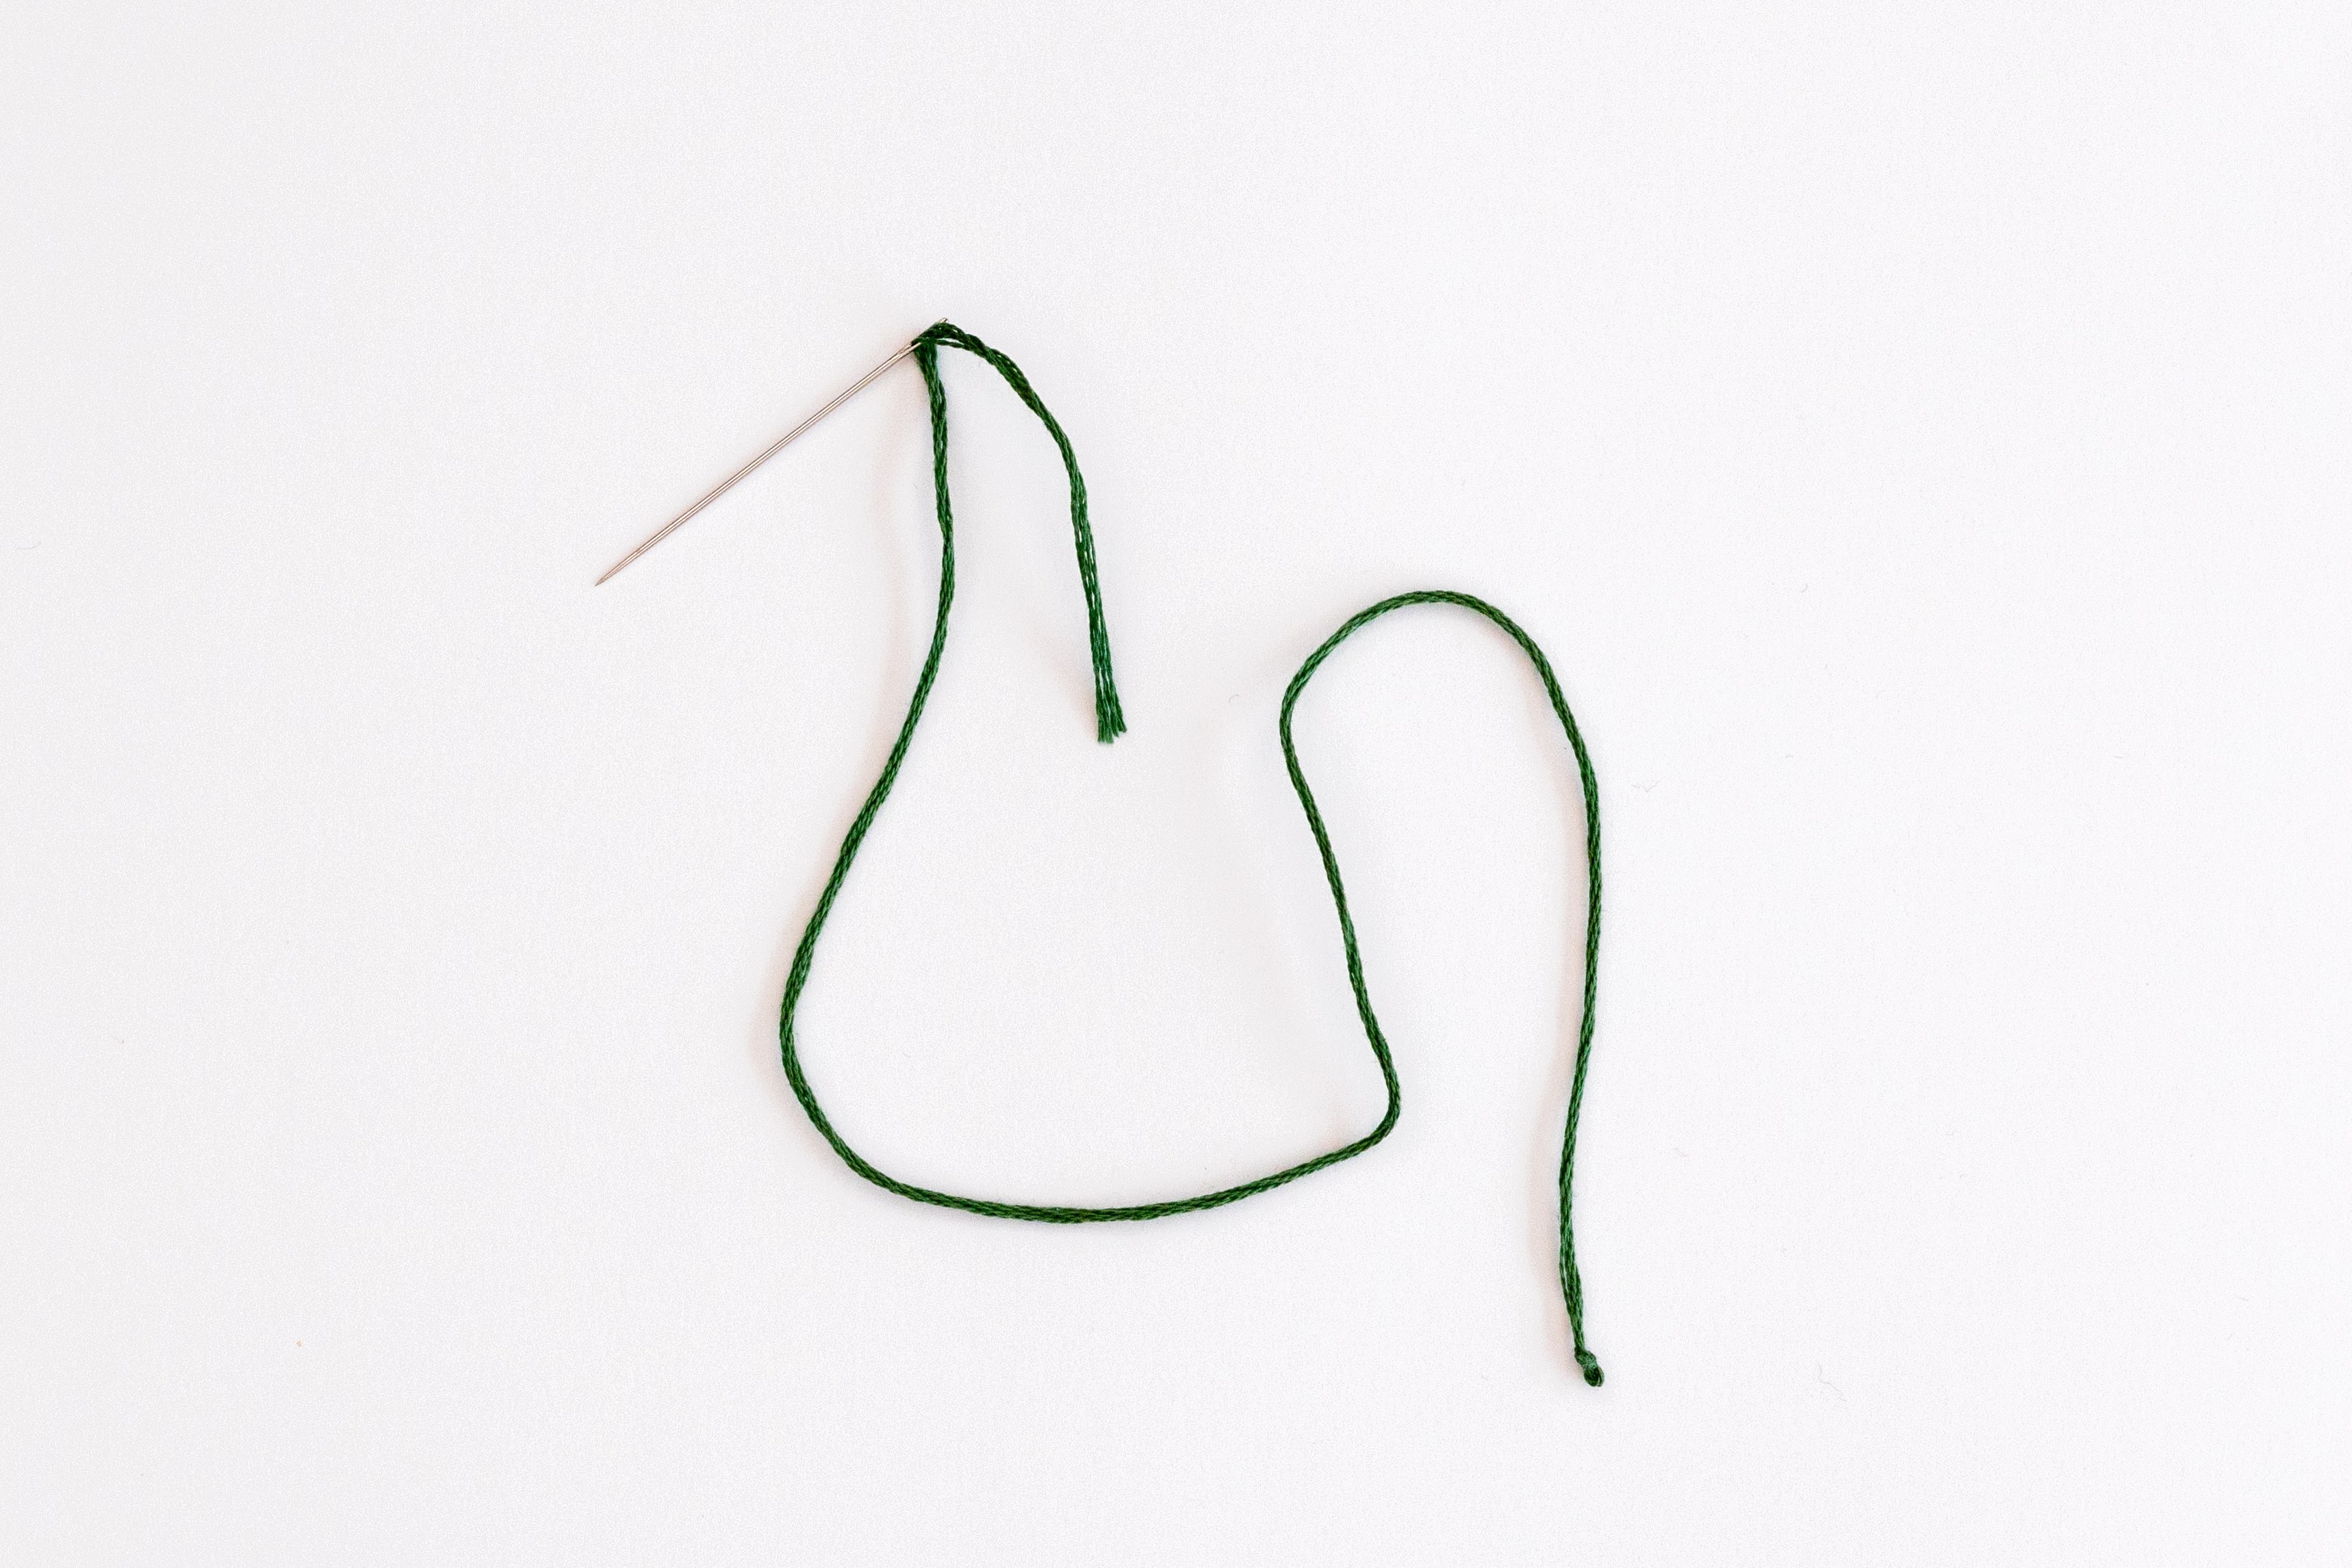
Pull through a short tail (about 2 inches).
Here are some pointers to assist you:
-
Ensure you’re working in good lighting for clear visibility.
-
Trim the end of your thread to create a sharper point.
-
Giving the end of the thread a lick can help group the strands together snugly. I do this most times!
-
Pinch the end to align the strands of floss into a flat row. This makes it easier to thread through the eye compared to a more rounded bundle.
-
Check that your embroidery needle size matches the amount of floss you’re using. For instance, I prefer a size 3 needle for 6 strands and a size 5 for 3 strands.
Video example
Conclusion
So there you have it, all the beginner knowledge you need to thread your needle. This is something you'll do again and again as you keep making embroidery patterns.
I’m so excited for you to discover the exciting world of embroidery!
What's next?
If you enjoyed learning about modern embroidery, you may also enjoy my Modern Embroidery Foundations Course.
This course takes you through all the beginner techniques and knowledge you need to make your first beginner pattern, Little Wildflower Meadow! Plus, it includes a beautiful second pattern, Blooming Lovely, which is a fantastic place to practice your newfound skills.
I would totally recommend this course, as it covers more embroidery techniques than just threading your needle, and you can also do it at your own place. Plus, this is a great way to hold yourself accountable for your own me-time and continue on your path to becoming a modern embroidery superstar.
If you liked this article, then you may also like this one,
What Essential Supplies do You Need to Get Started in Modern Embroidery?
So, are you excited to start on your modern embroidery journey?
