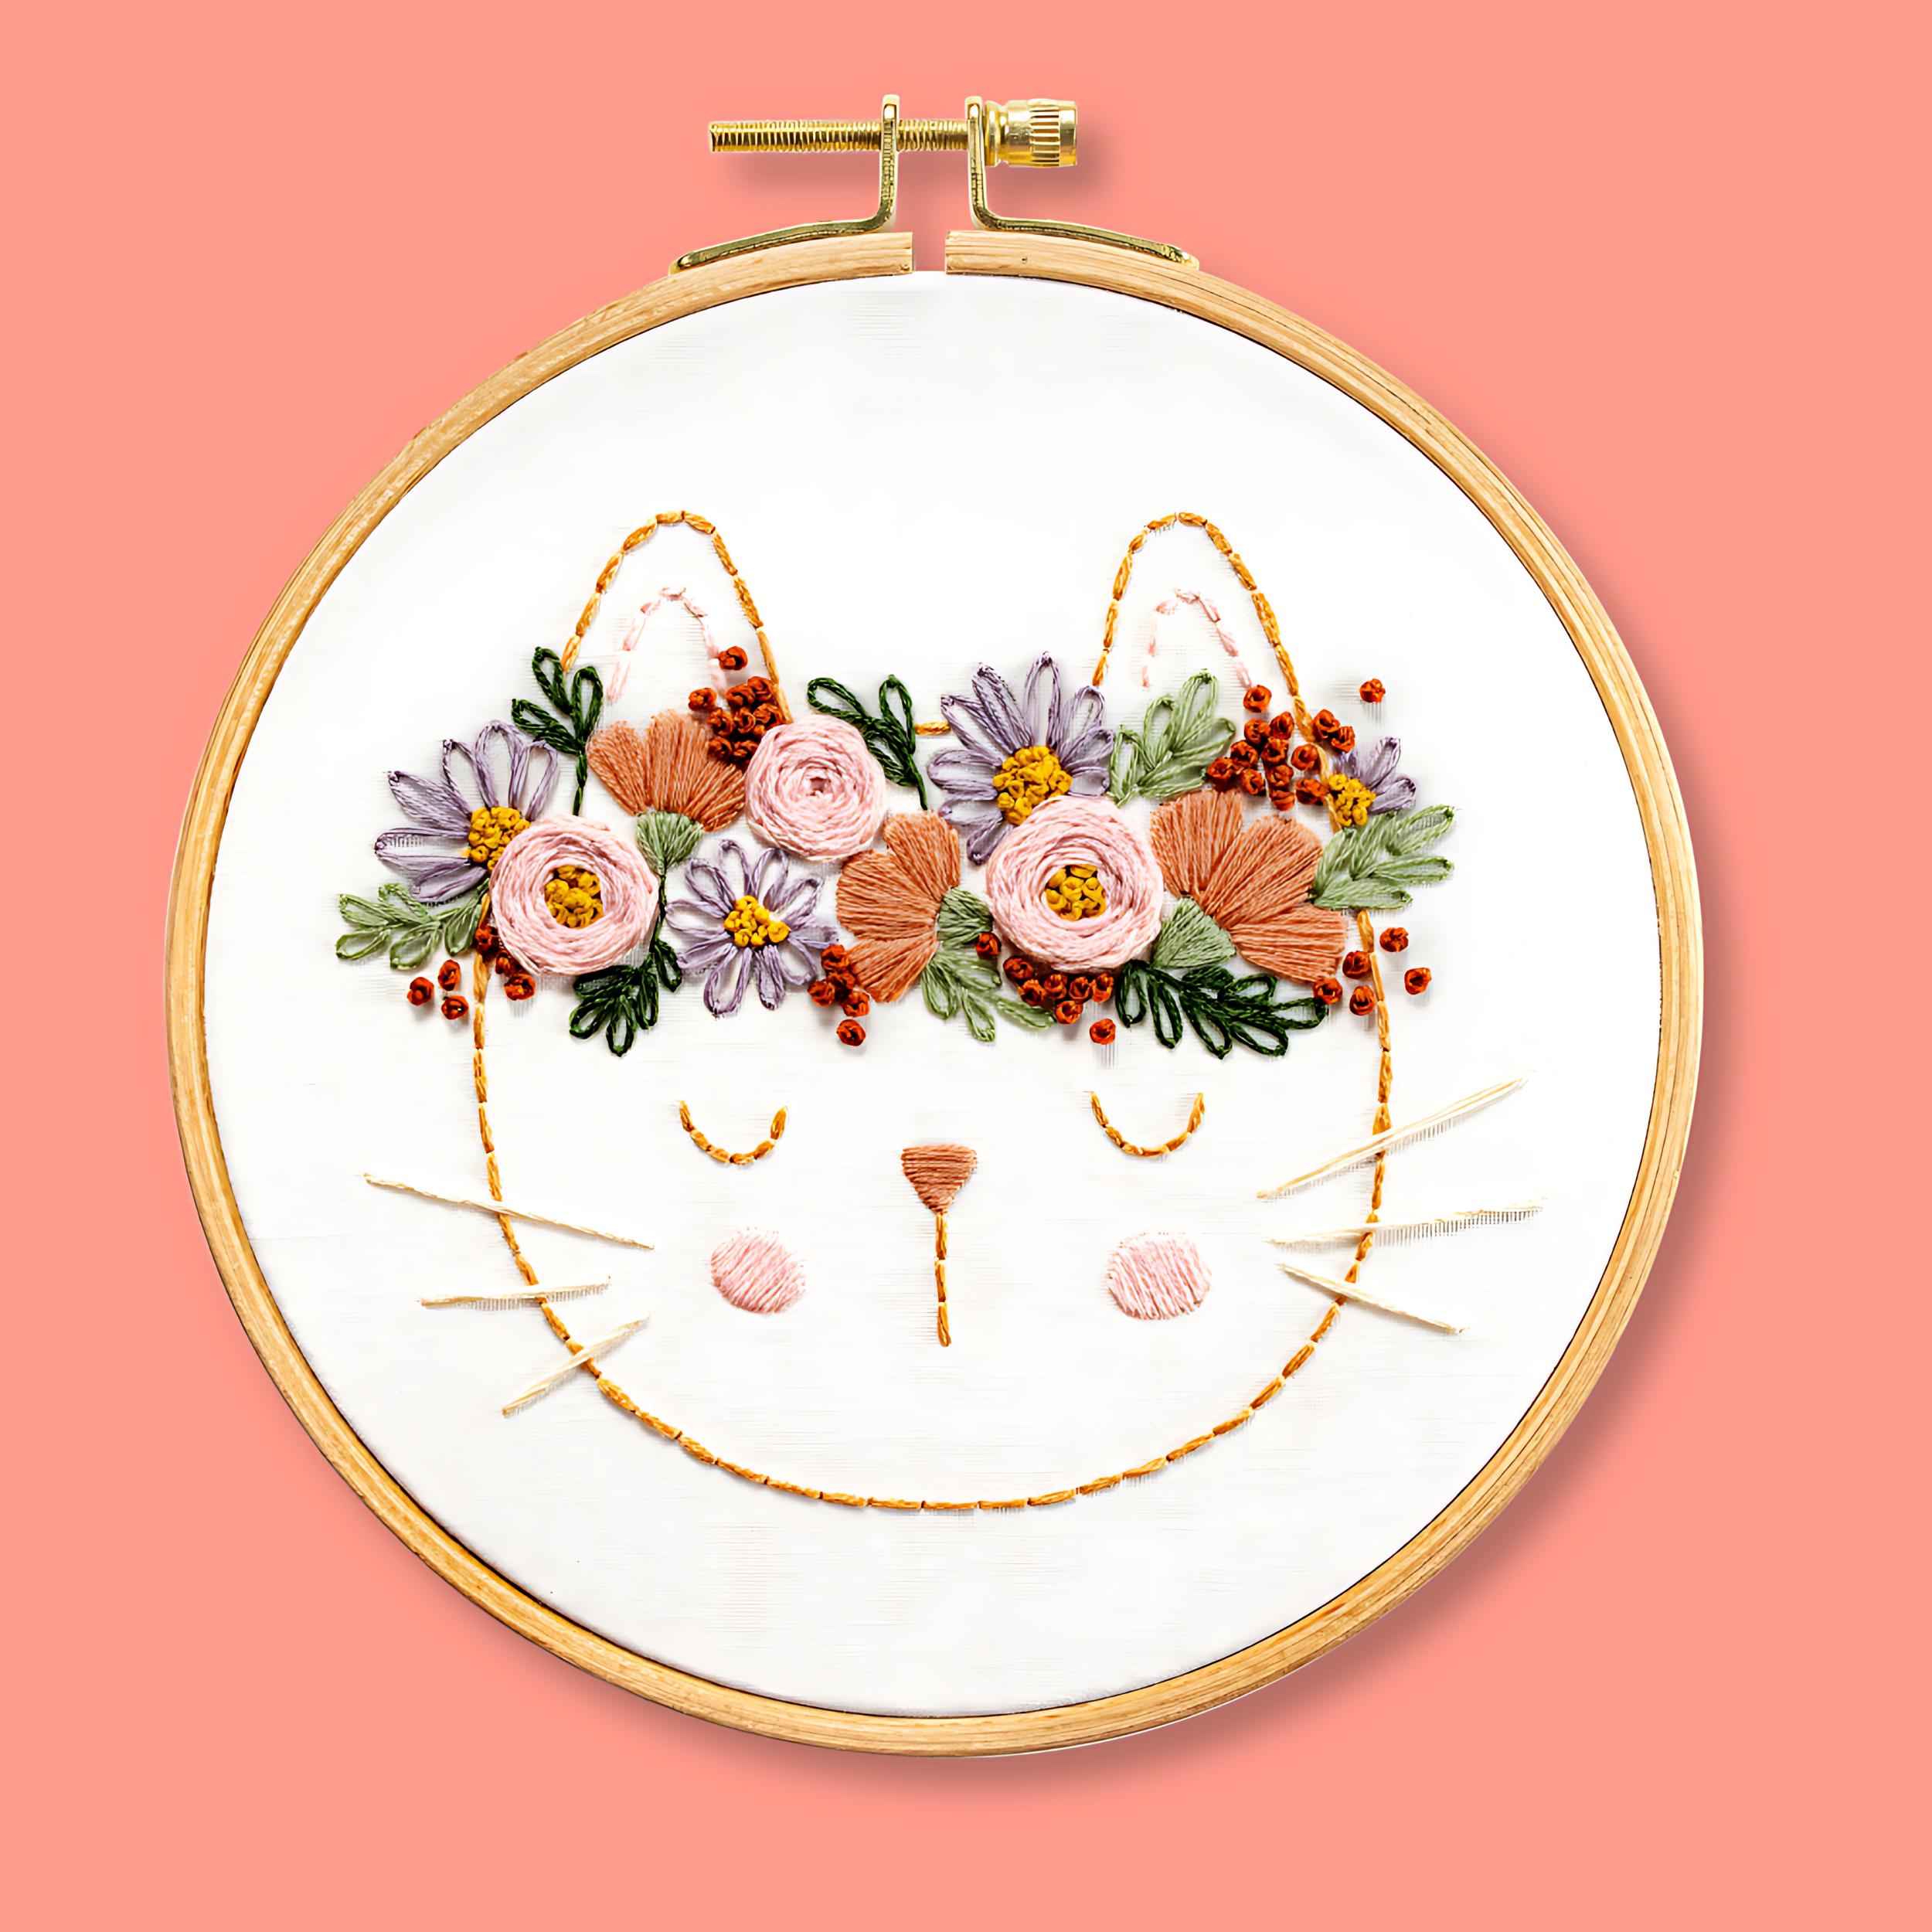
Back Stitch - Learn This Modern Embroidery Technique
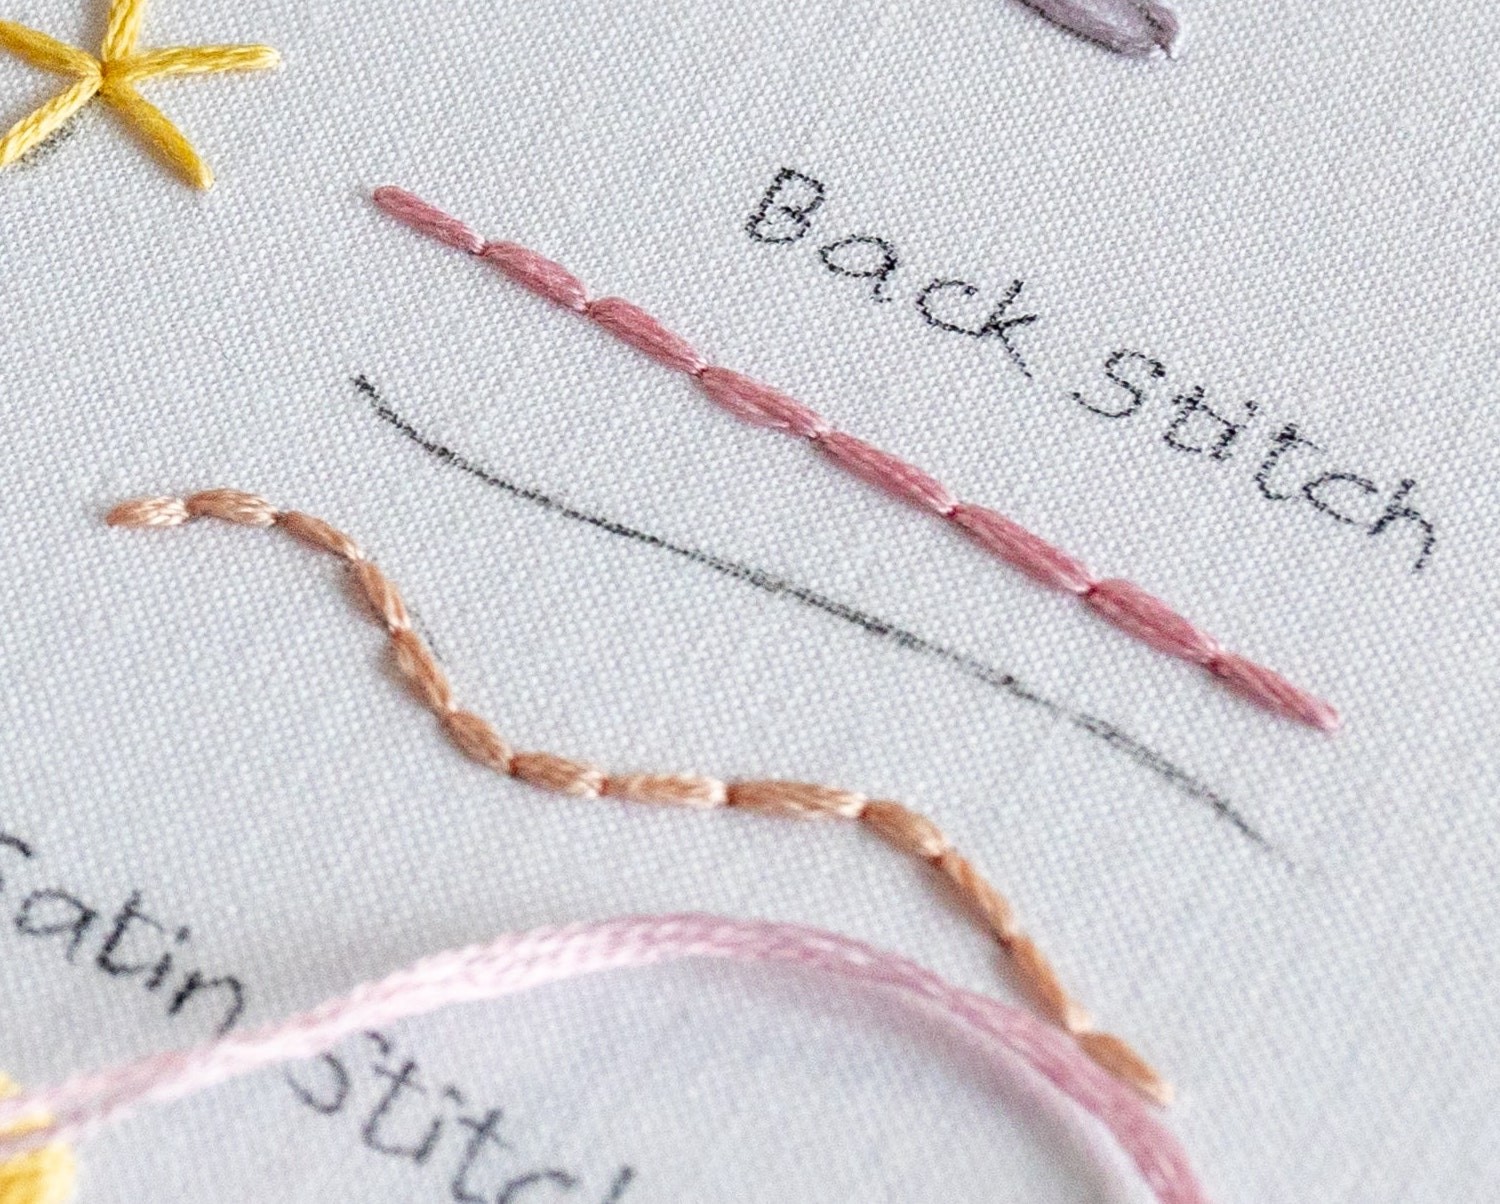
Introduction
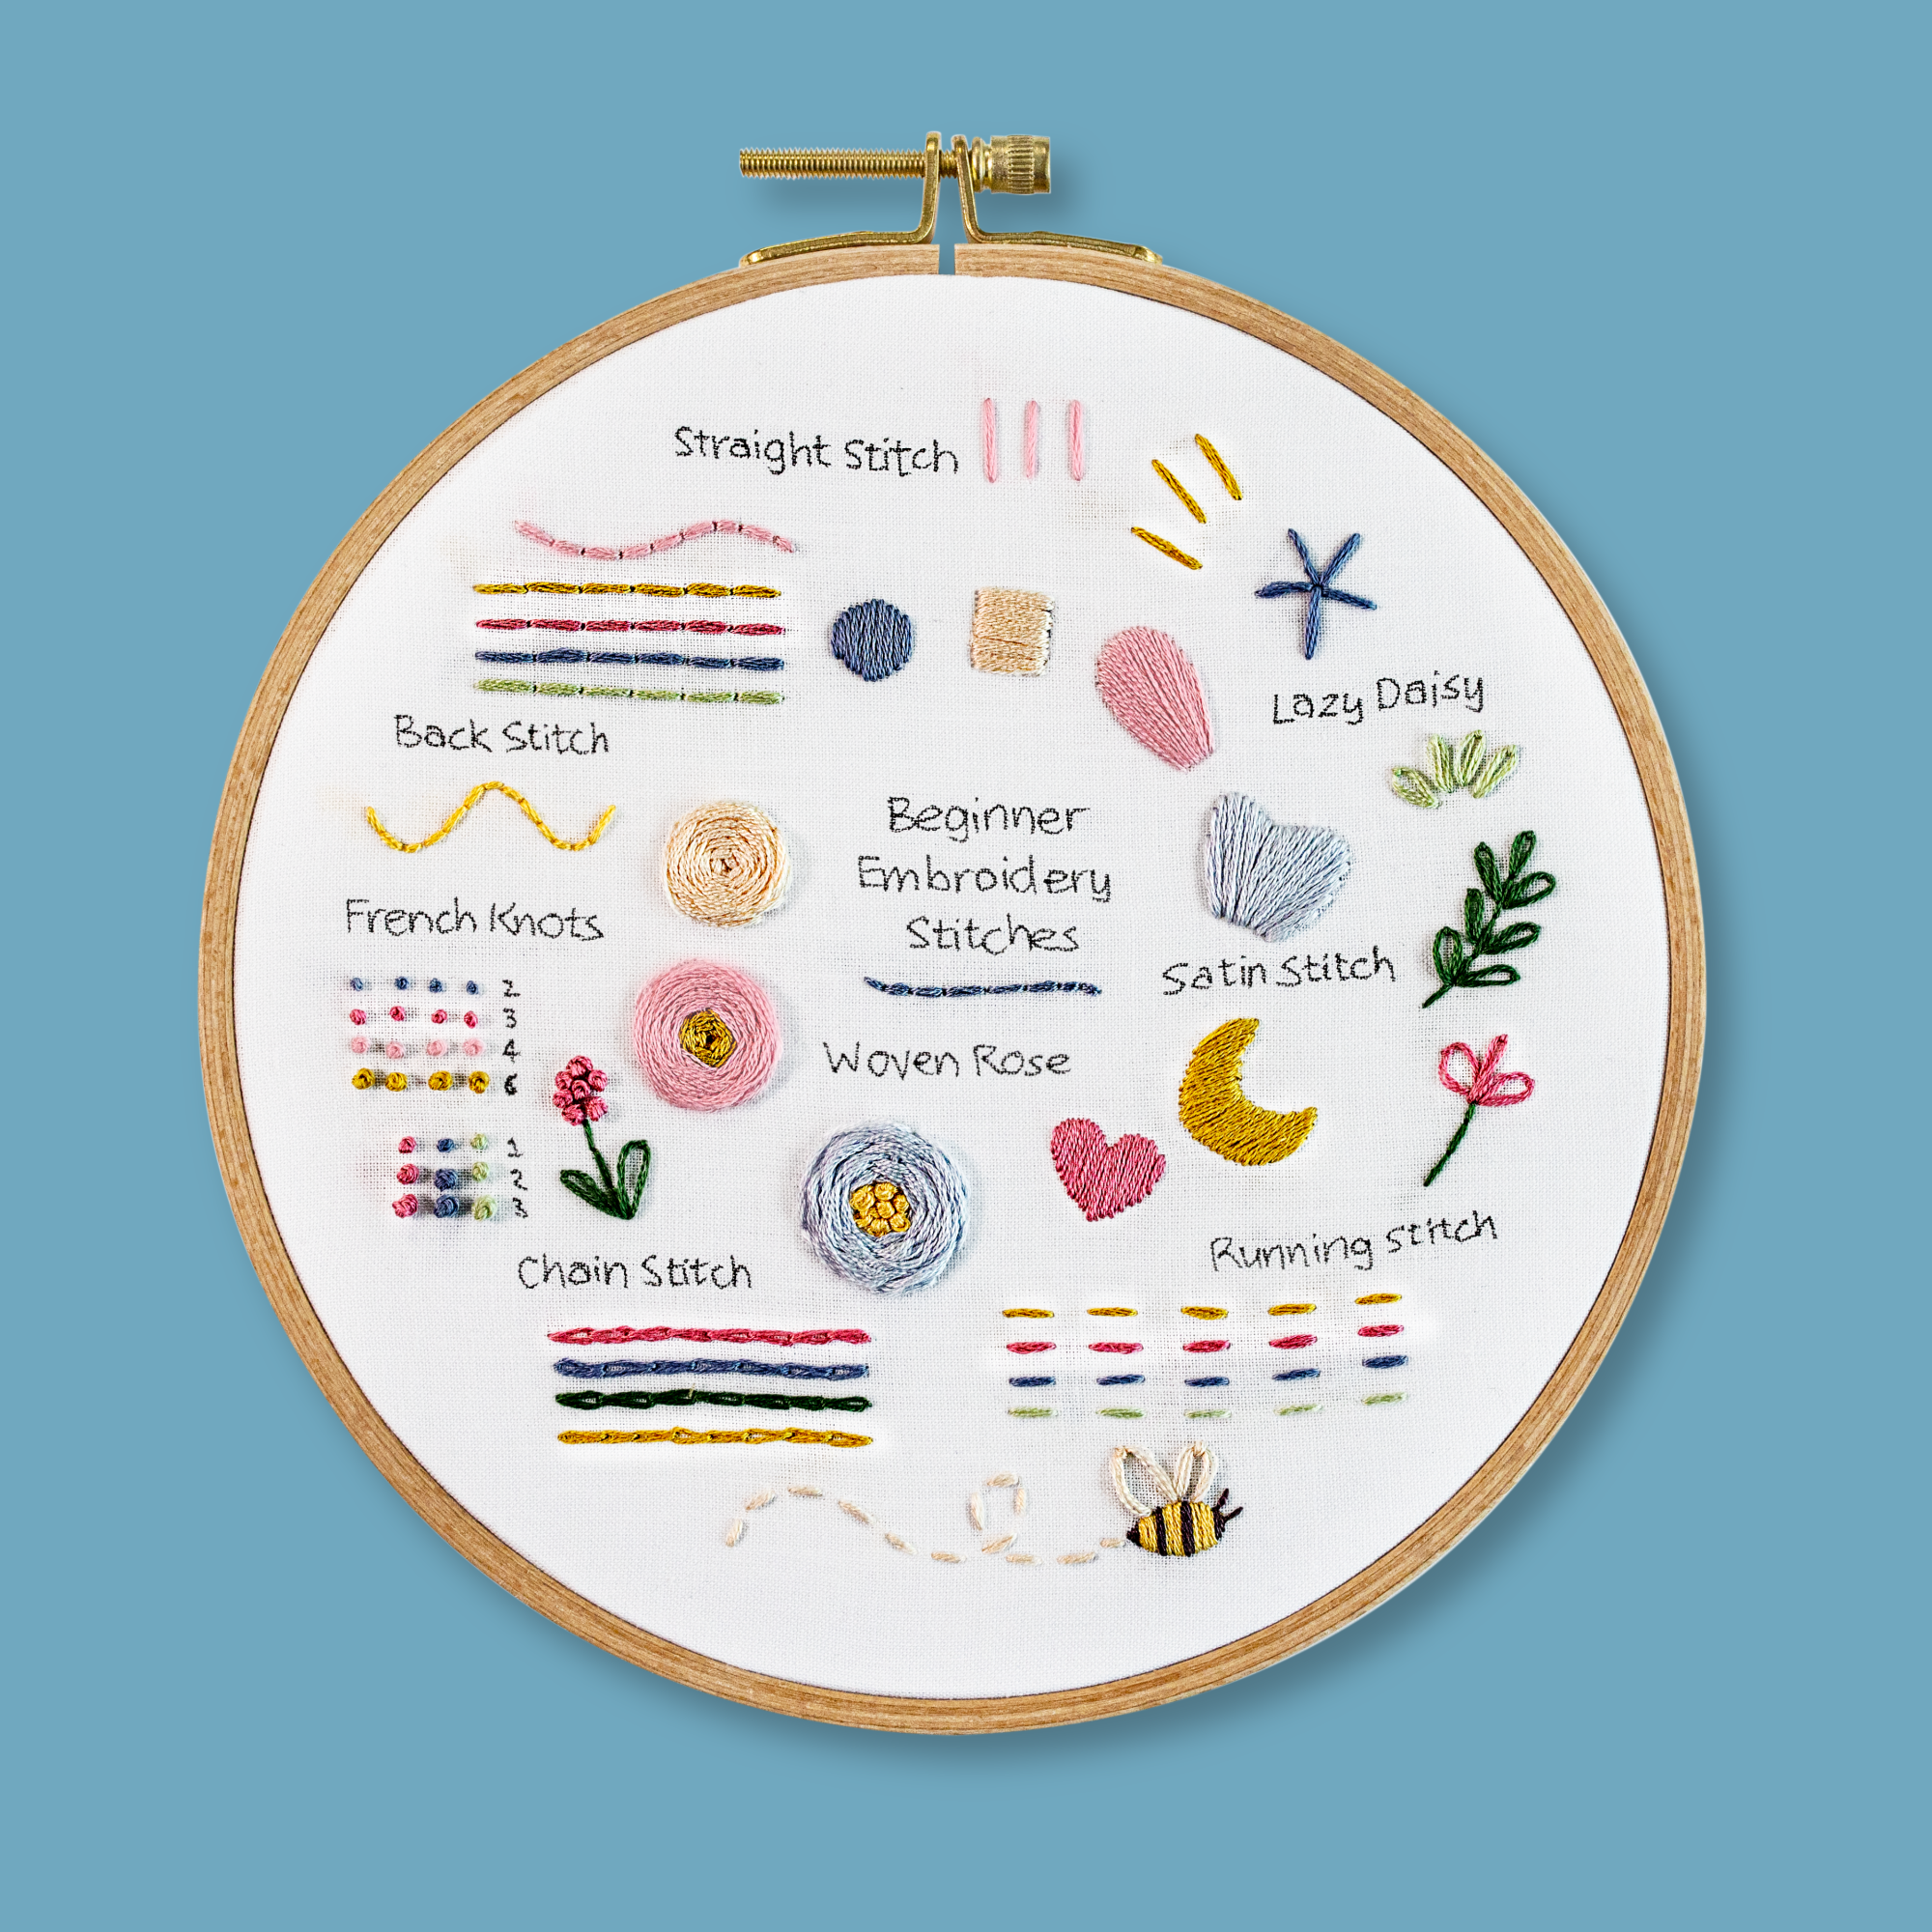
This is such a fundamental embroidery technique to have under your belt, and I’m sure you’ll use it all the time! It involves creating a solid, continuous line by stitching backward – making it perfect for outlines, words and all sorts of details.
Let’s try it out:
Step 1
Start by bringing your needle up from the back of the fabric to the front, at the start of the line. Gently pull the working thread through to the front, so that your knot secures the thread at the back.
Step 2
Poke your needle down about a stitch length along the line.
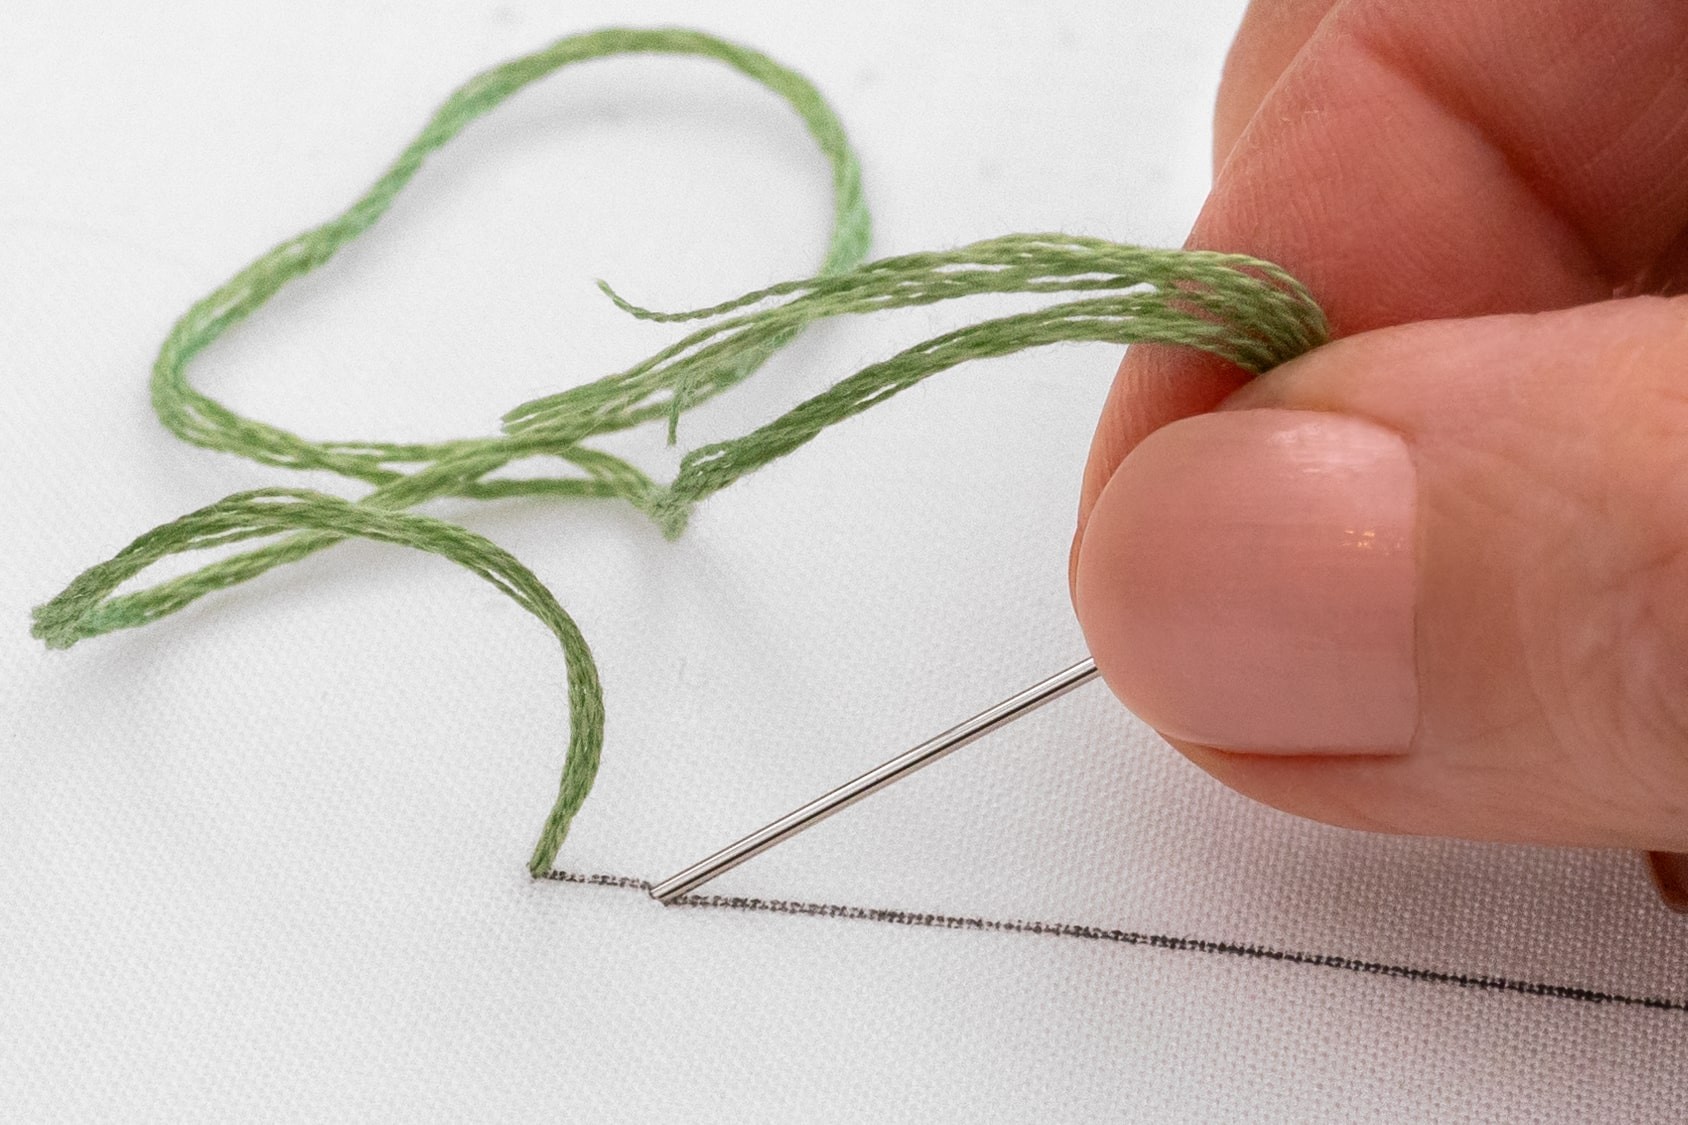
Step 3
Gently pull the working thread through to the back (no need to pull it super tight), to create a single stitch that lays flat against the top-side of the fabric.
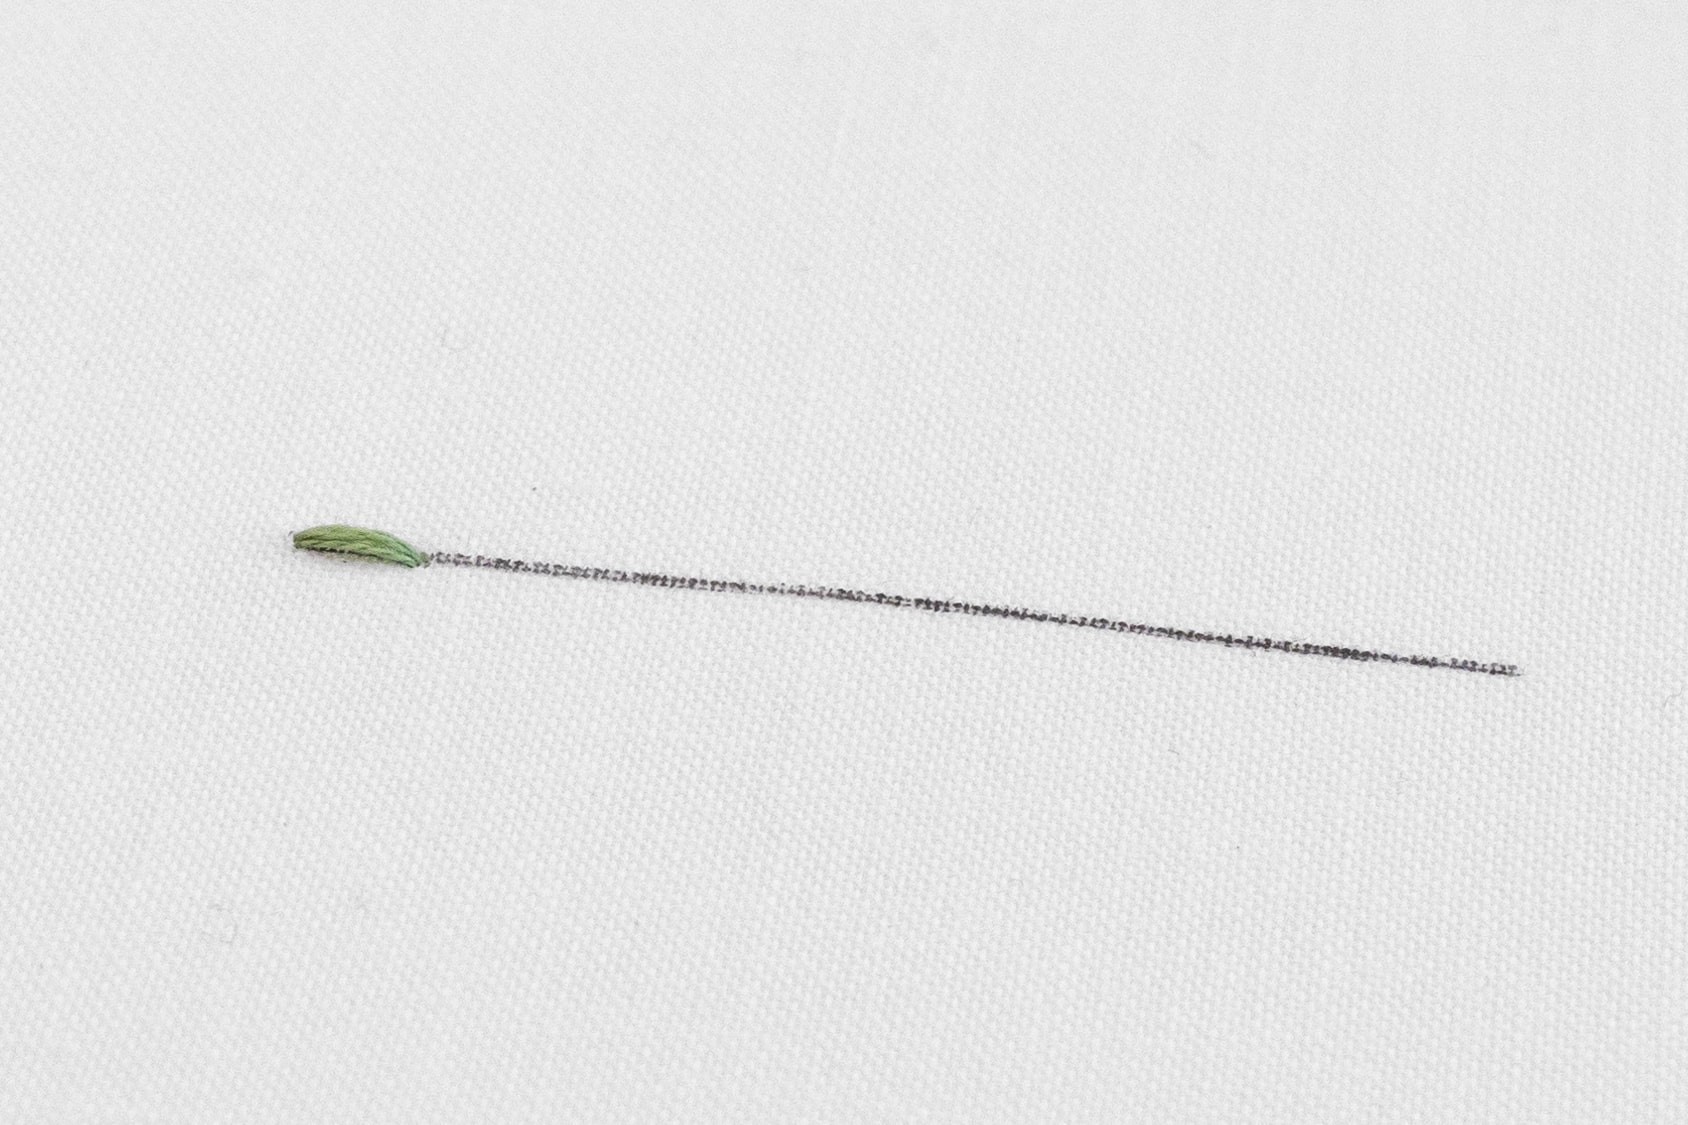
Step 4
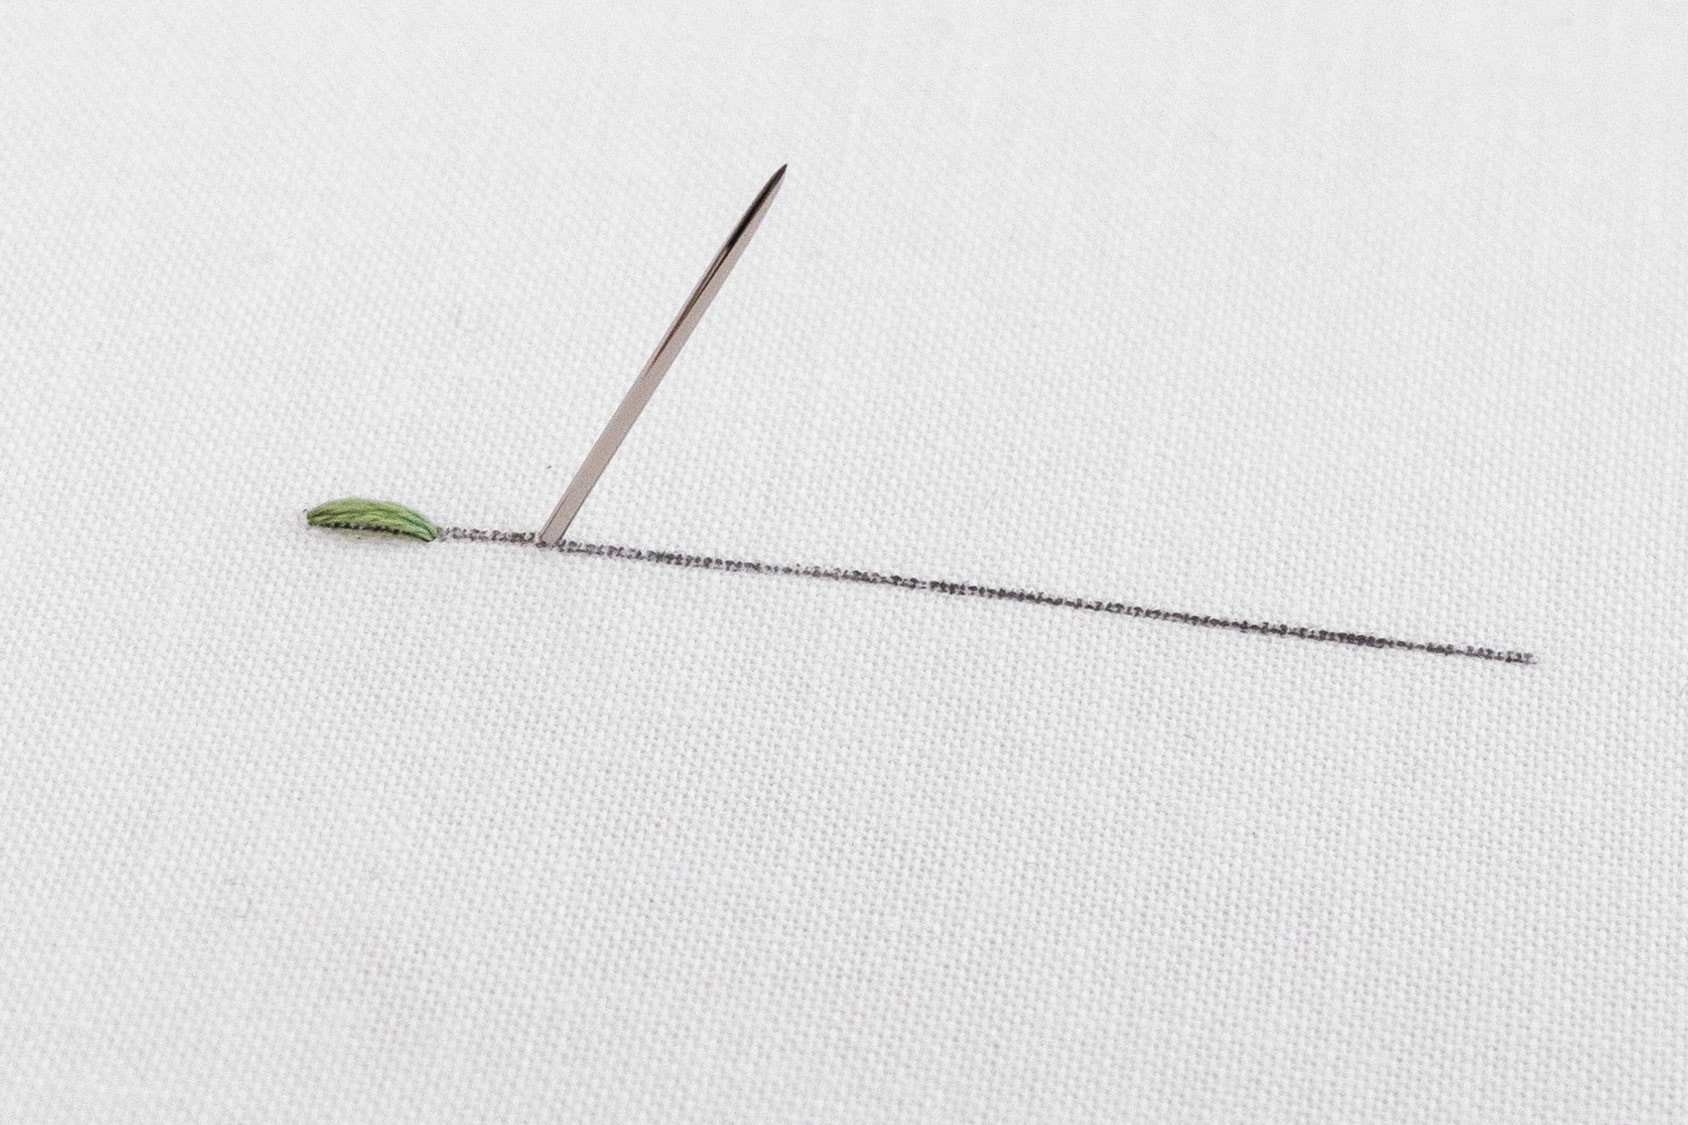
Bring your needle up again, a stitch length along the line.
Step 5
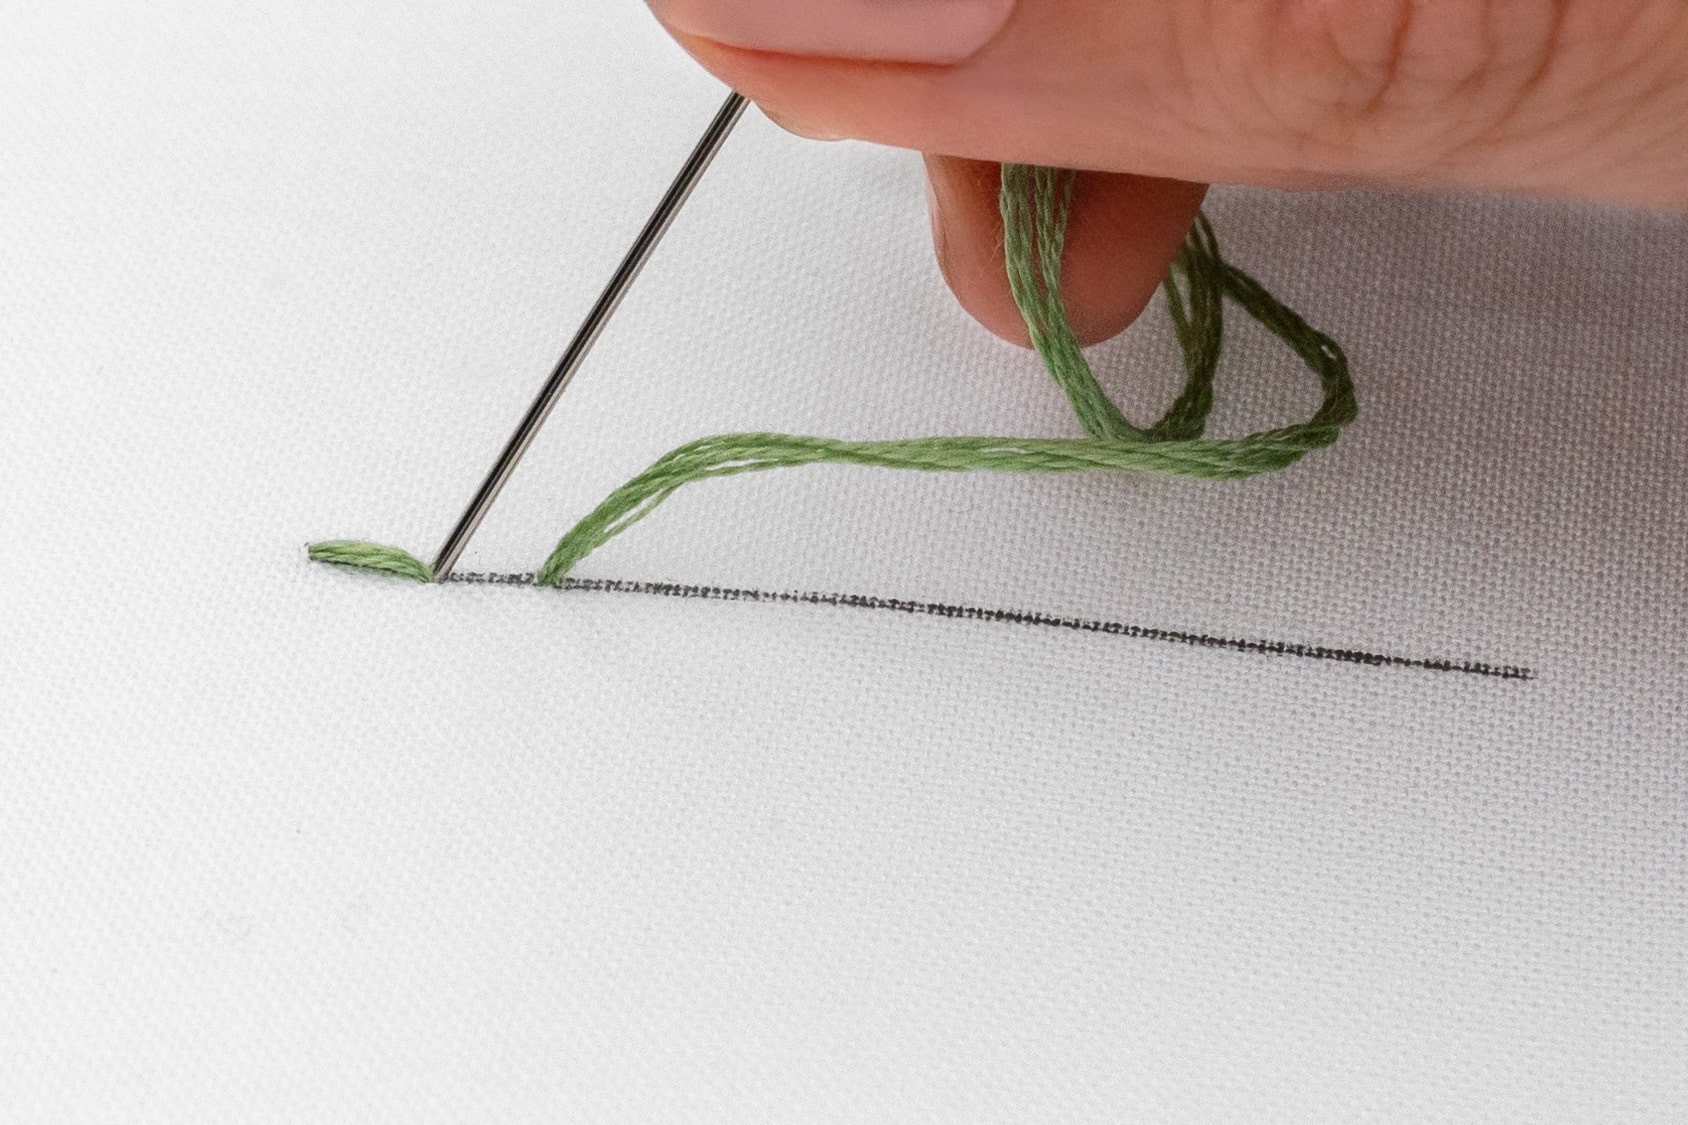
Then instead of going forwards, turn around and come back the way you’ve come! So poke your needle down at the end point of the first stitch.
Step 6
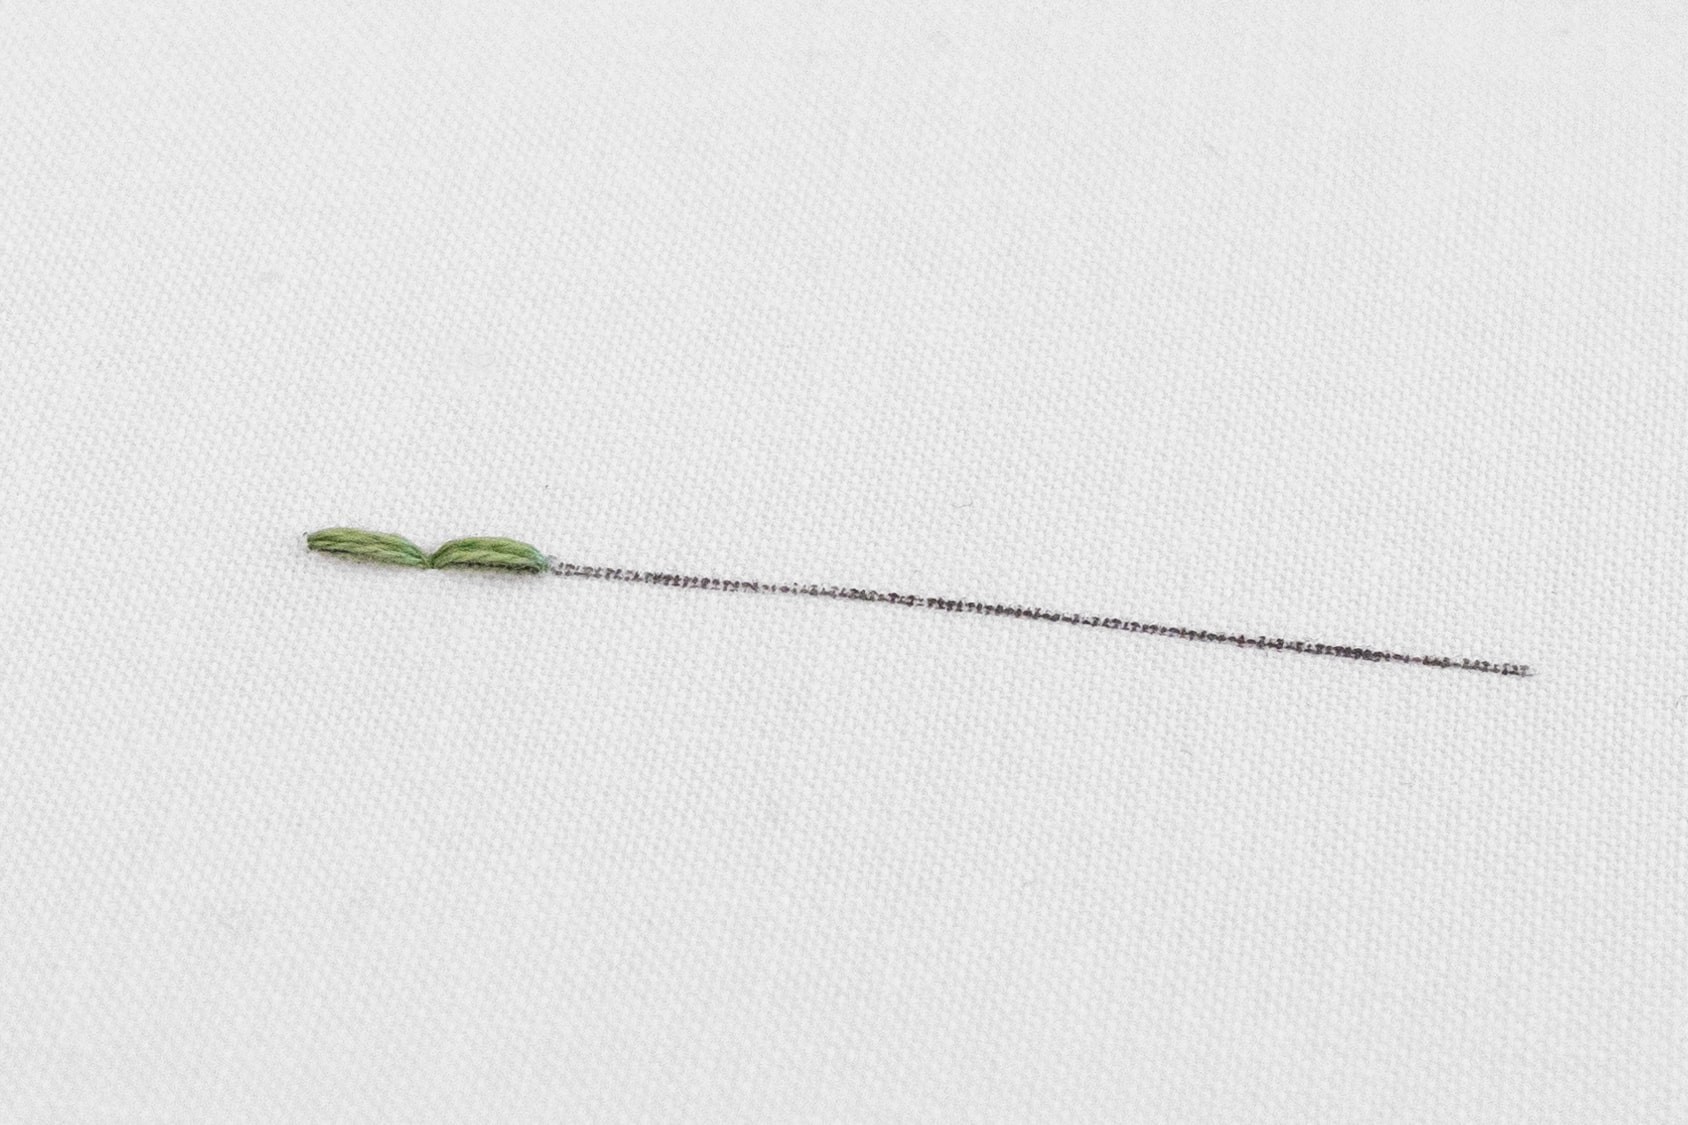
Pull through the working thread, and see how you’ve started to create a line with two Back Stitches? You’re doing great!
Step 7
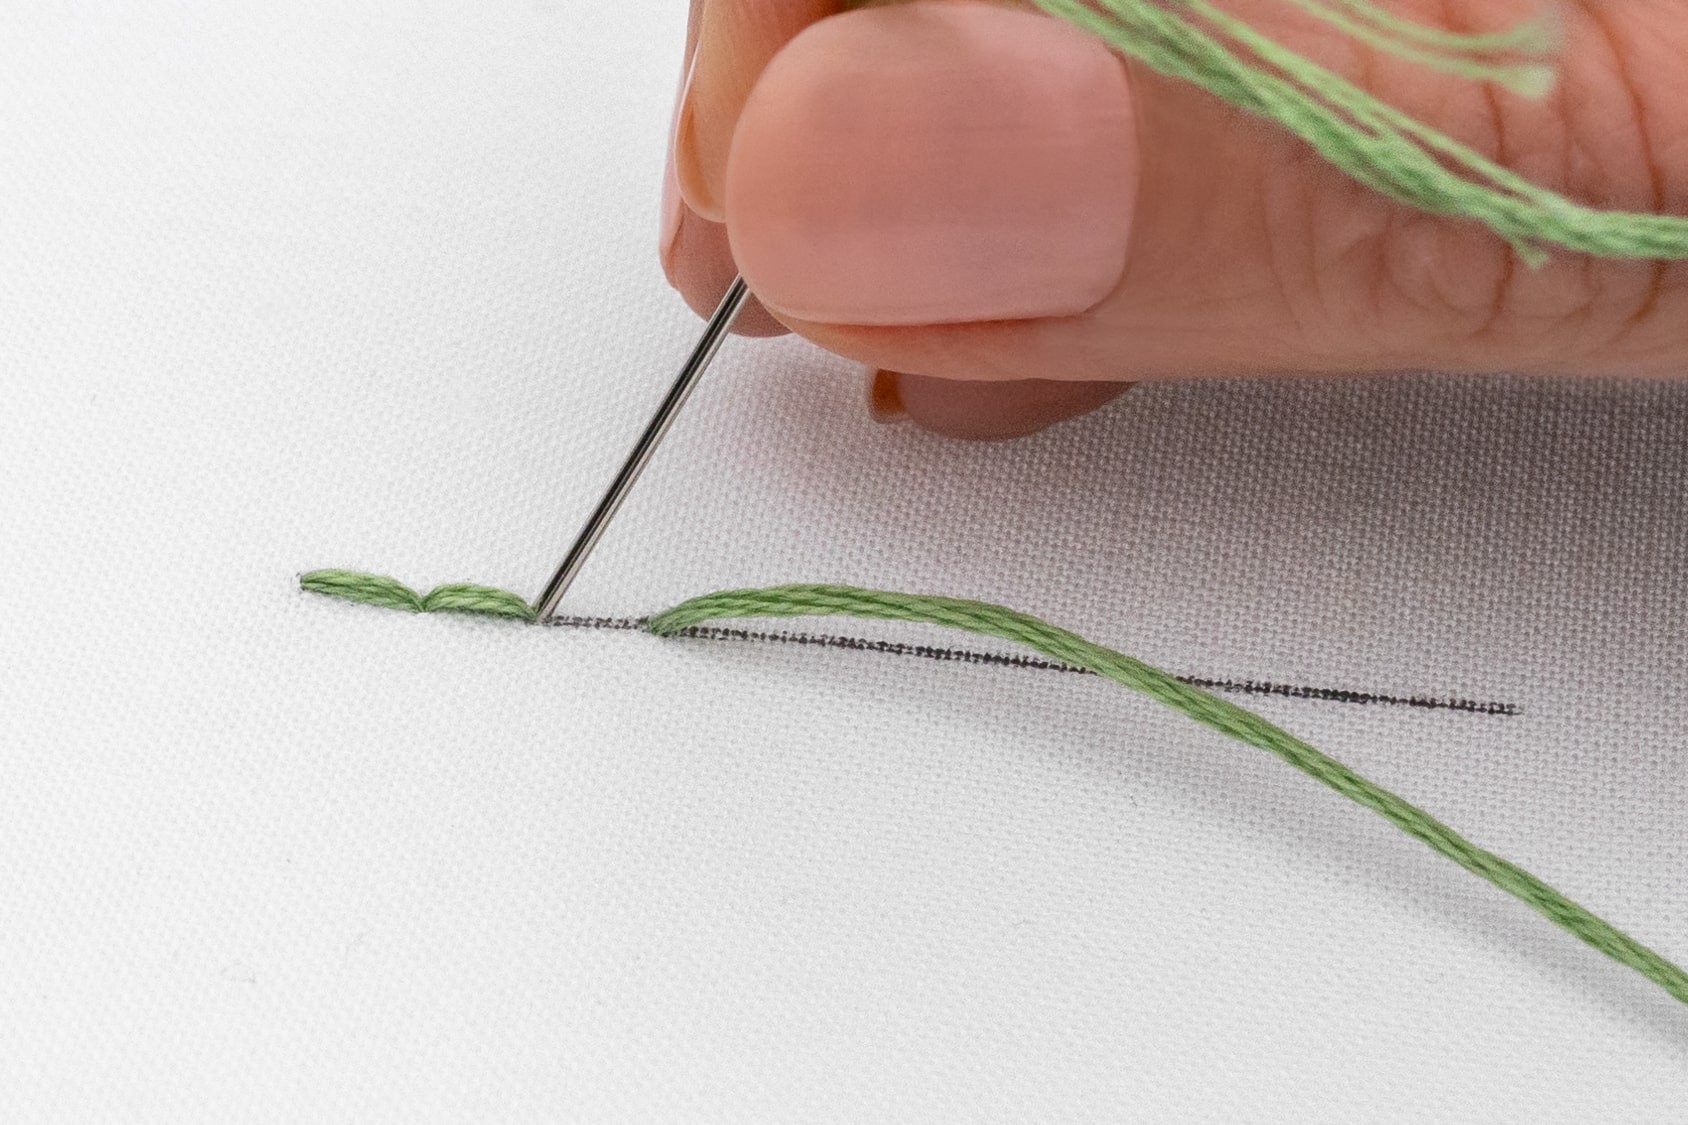
Bring your needle up again, a stitch length along the line. Then just like before, come backwards and poke your needle down at the end of the previous stitch. Draw through the working thread to complete the third stitch.
Step 8
Continue working these ‘backward’ stitches, and you'll see how they build up into a continuously solid line.
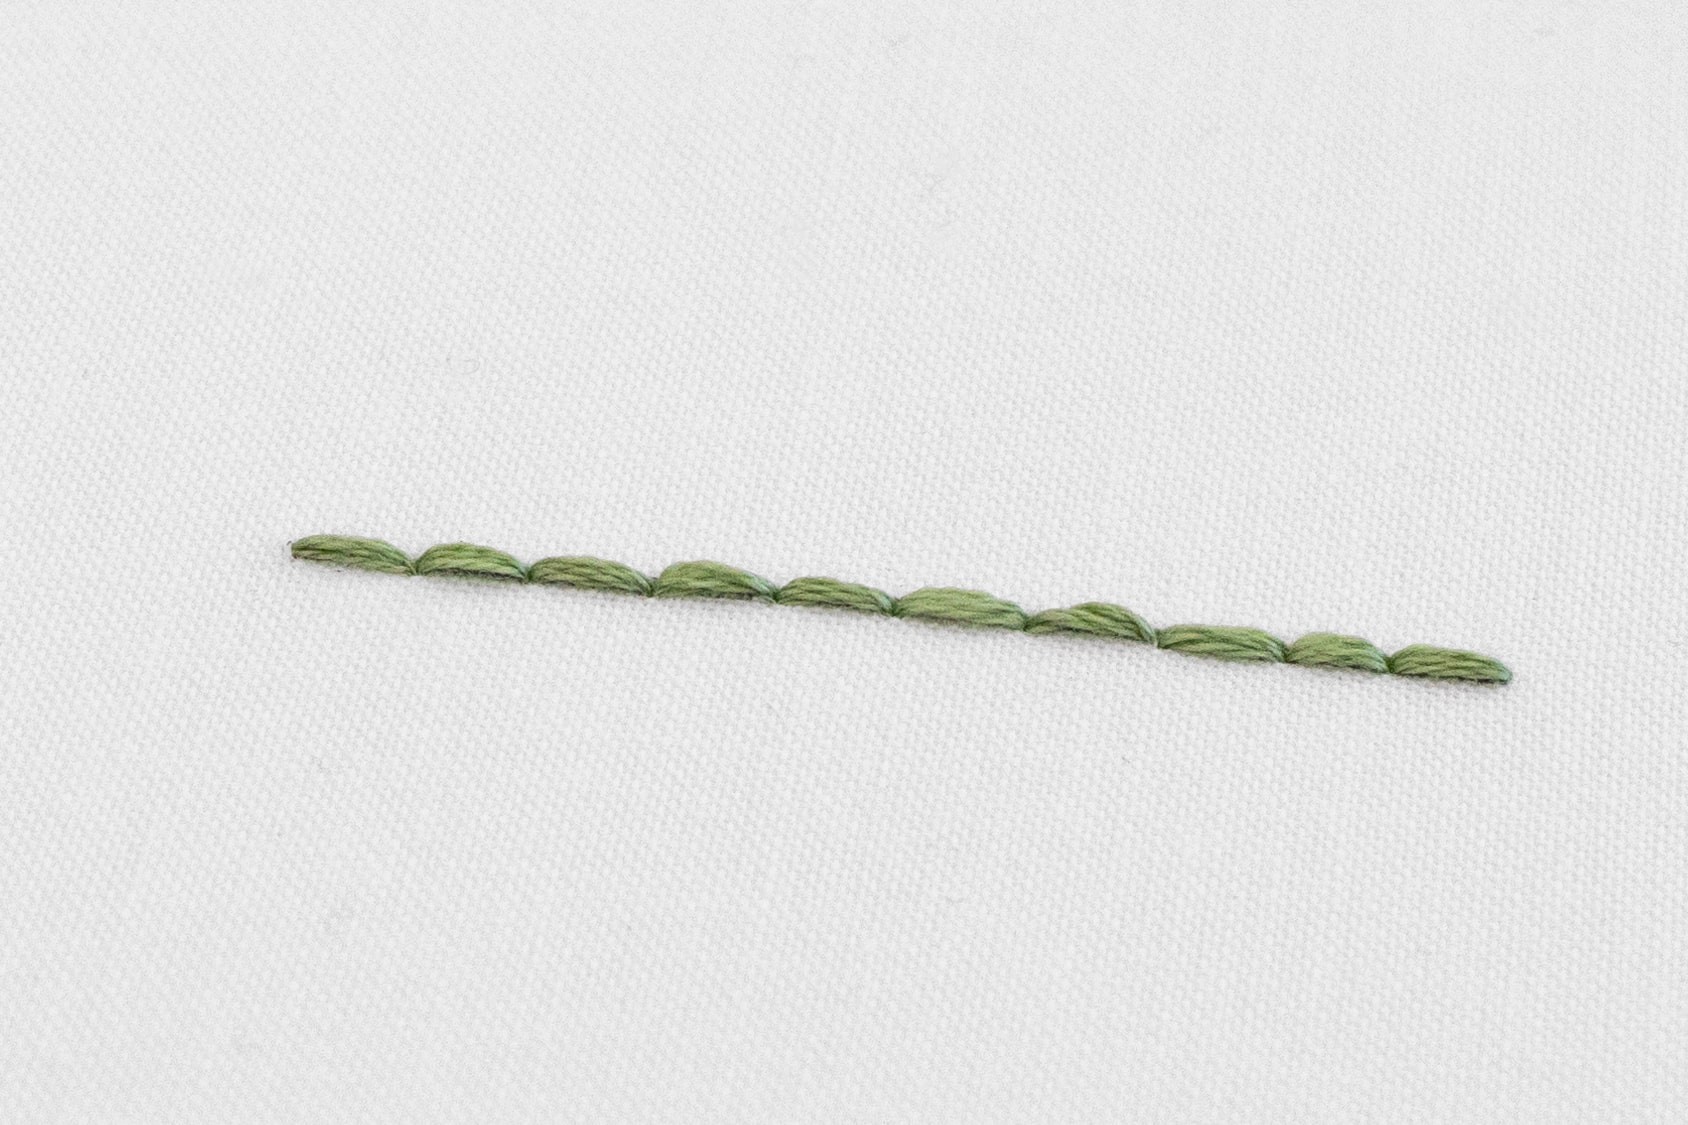
Step 9
When you've finished stitching, secure and tidy away your thread, using our usual method.
Back Stitch Tips:
-
Stitch length: You can experiment with shorter or longer stitches – there’s no set rule on this front!
-
Consistency: If you’re working on a straight line, it looks great to keep your stitch lengths uniform.
-
Keep it Short on Curves: If you’re working on curvy lines, you’ll find shorter stitches are more helpful to stay on track. As a rule of thumb – the sharper the curve the smaller the stitch.
Examples of Back Stitch in my patterns
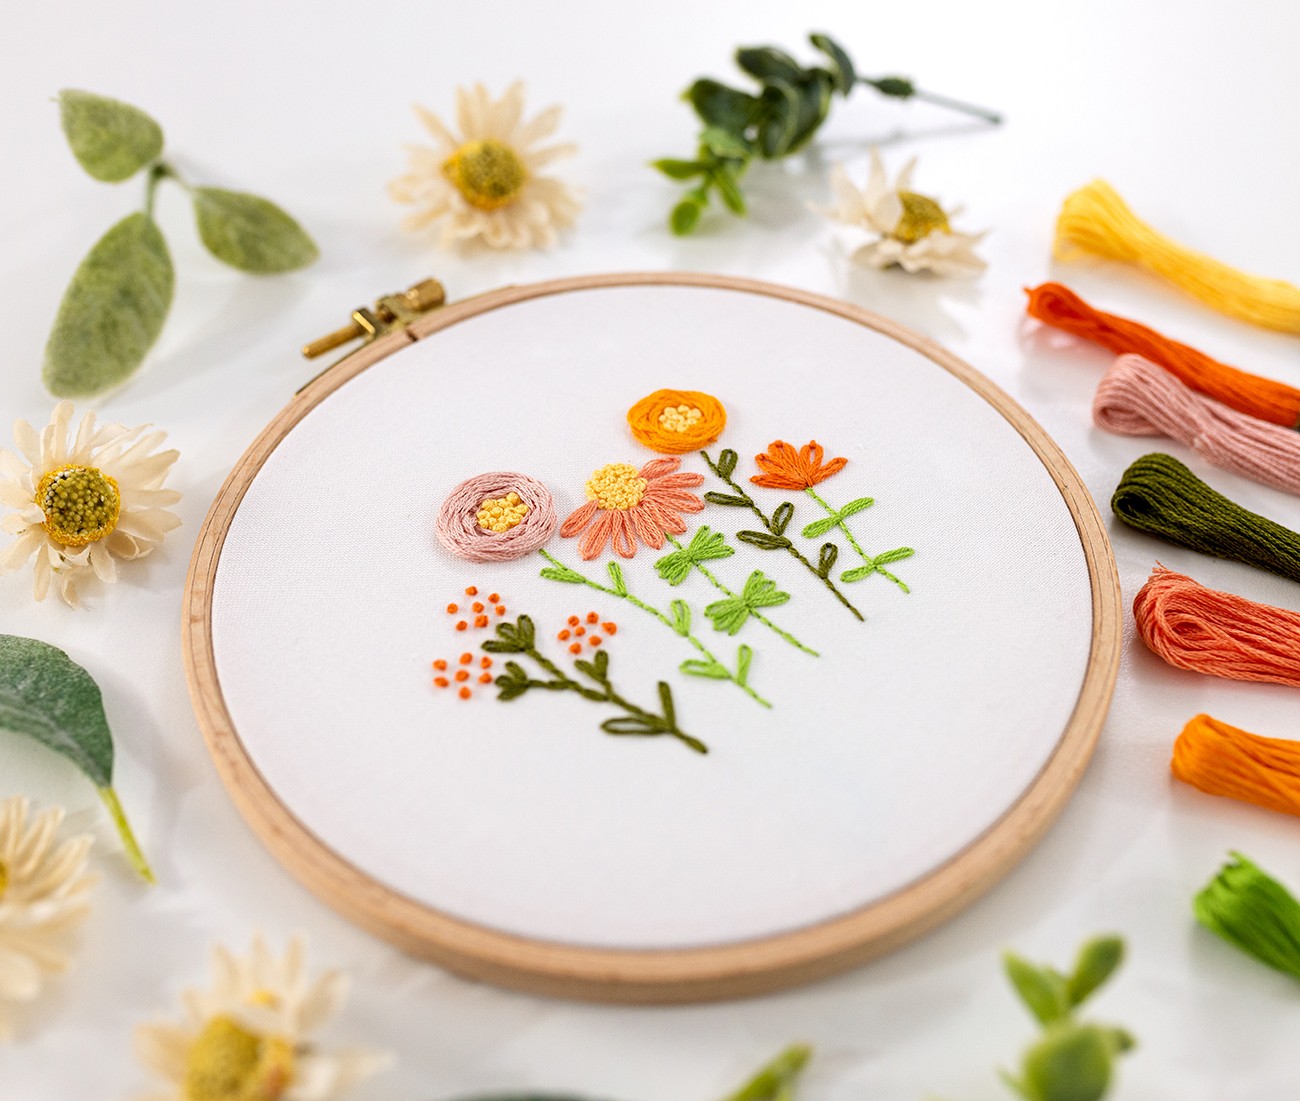
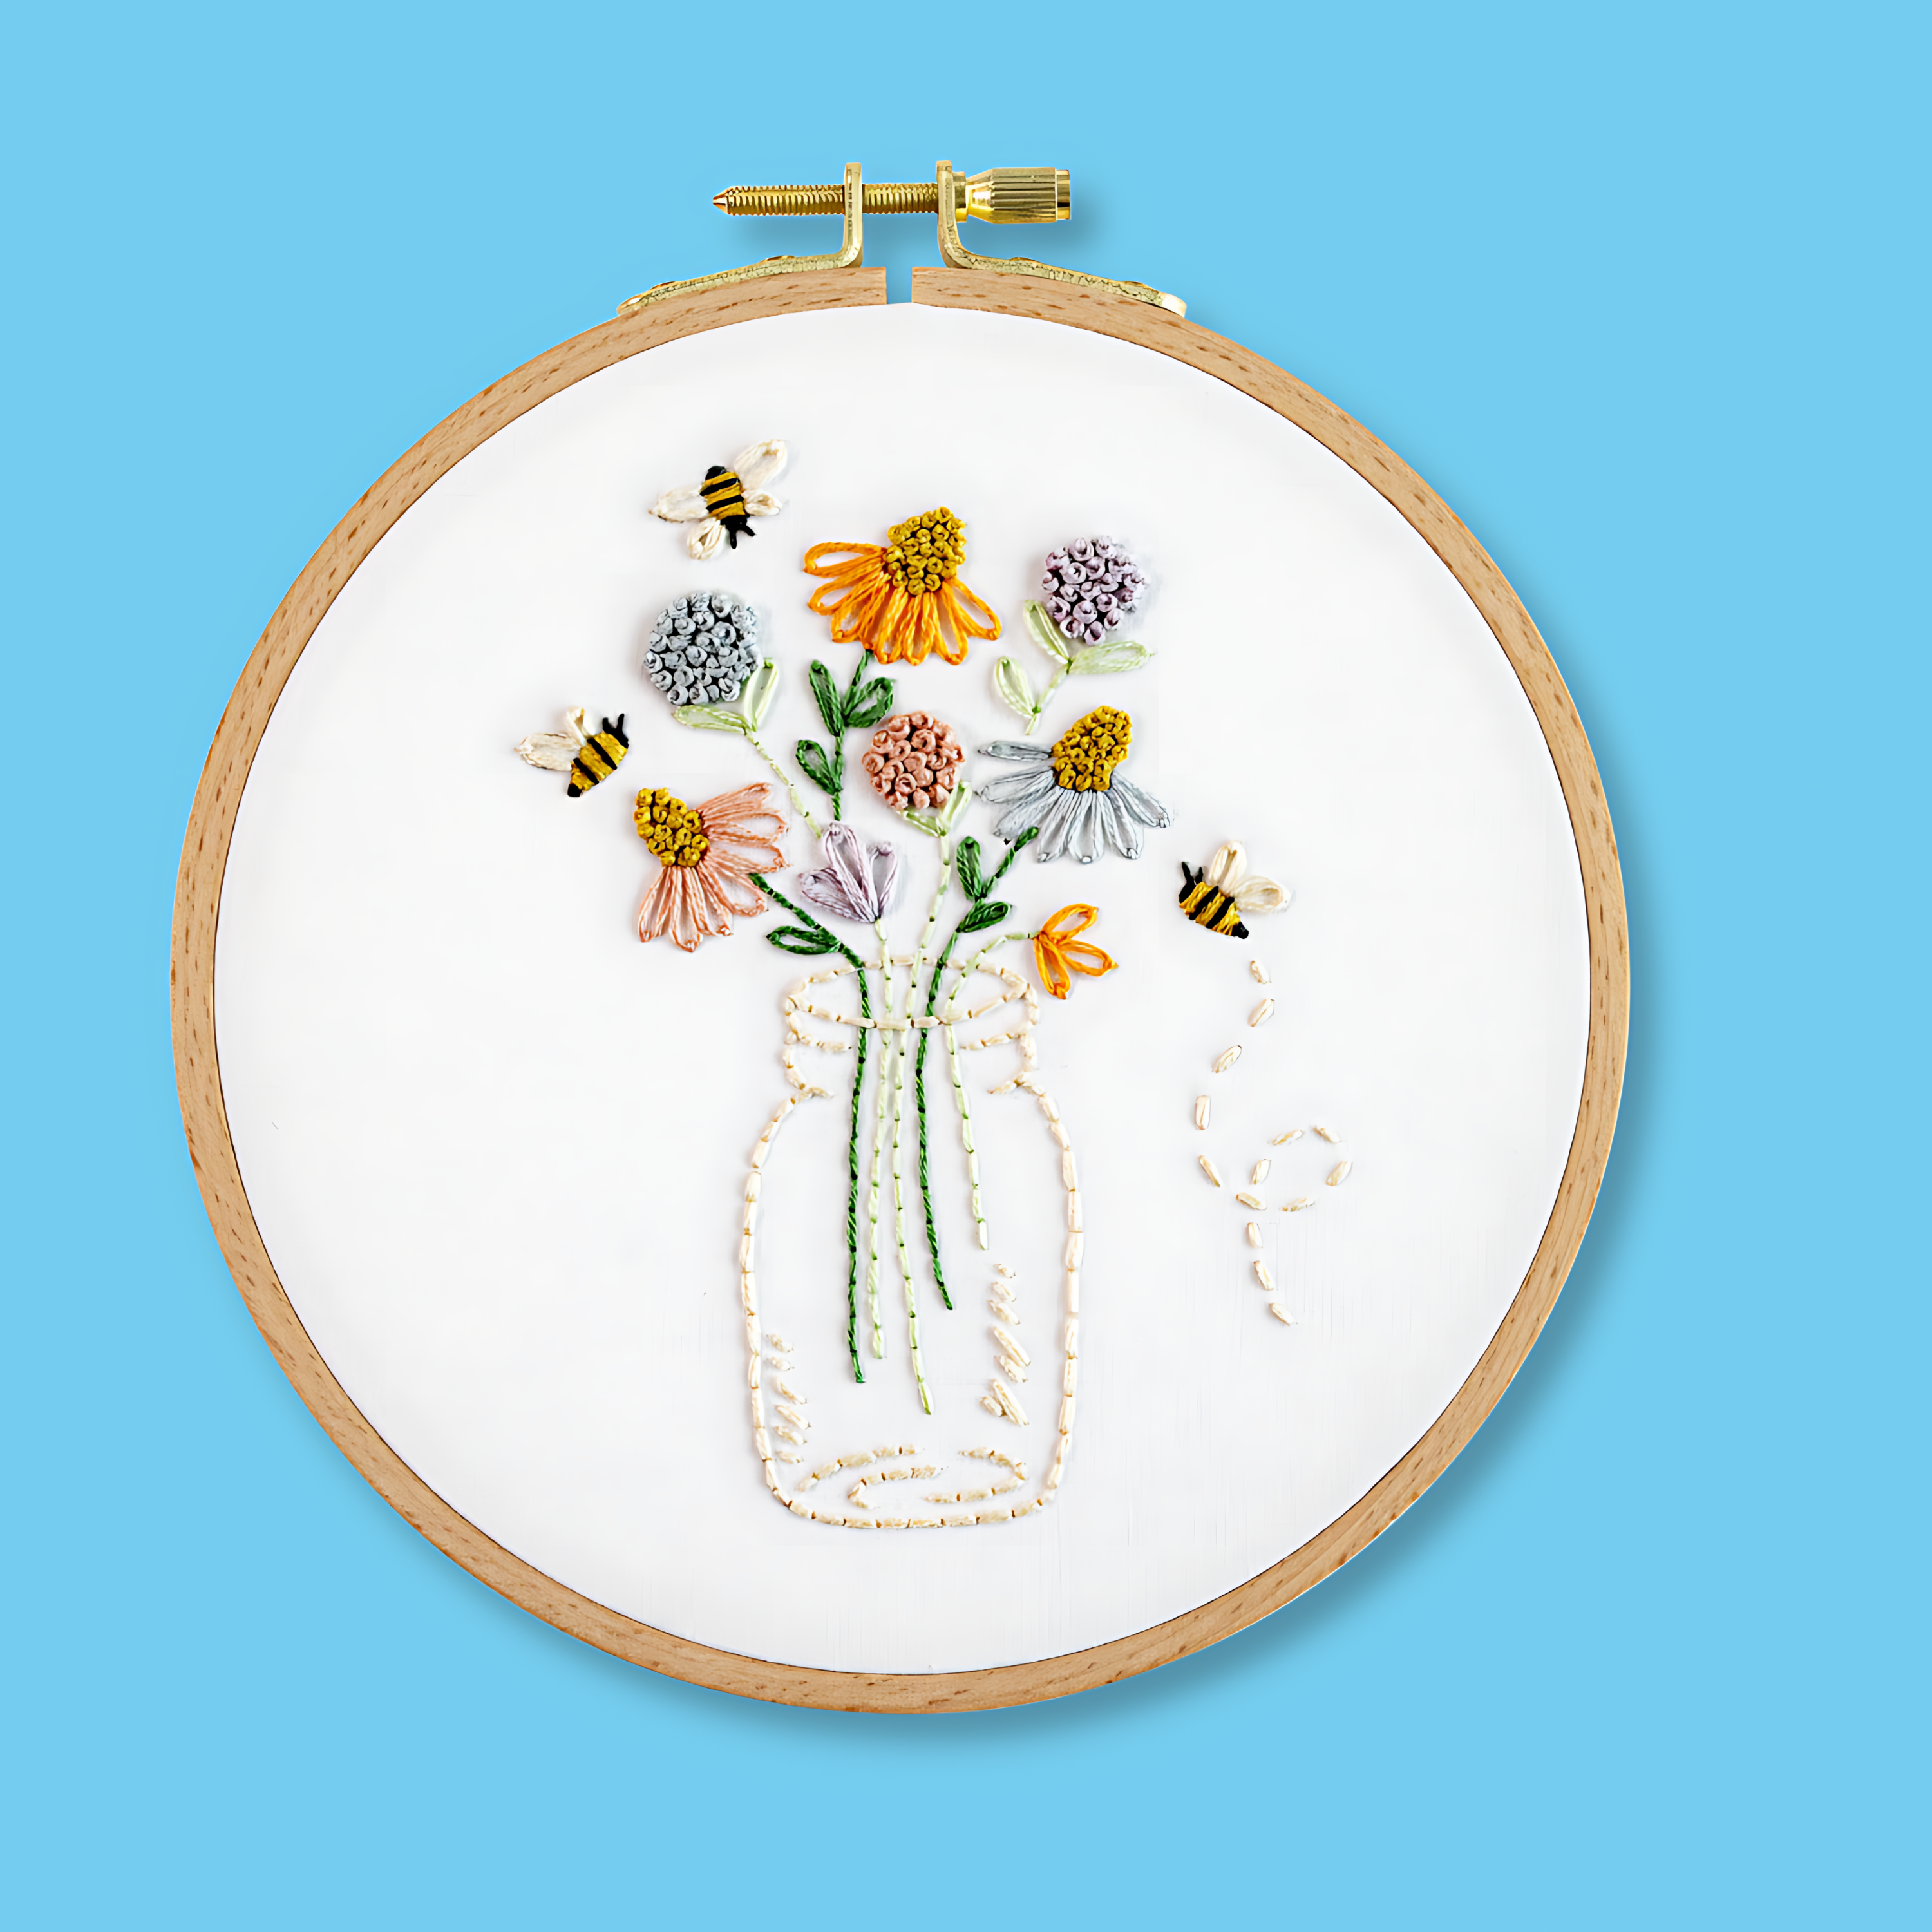
Let's look at some examples of how you can use this awesome foundation stitch in your work! First up, here's my Little Wildflower Meadow pattern. See the stalks of the flowers? Most of them are worked with Back Stitch.
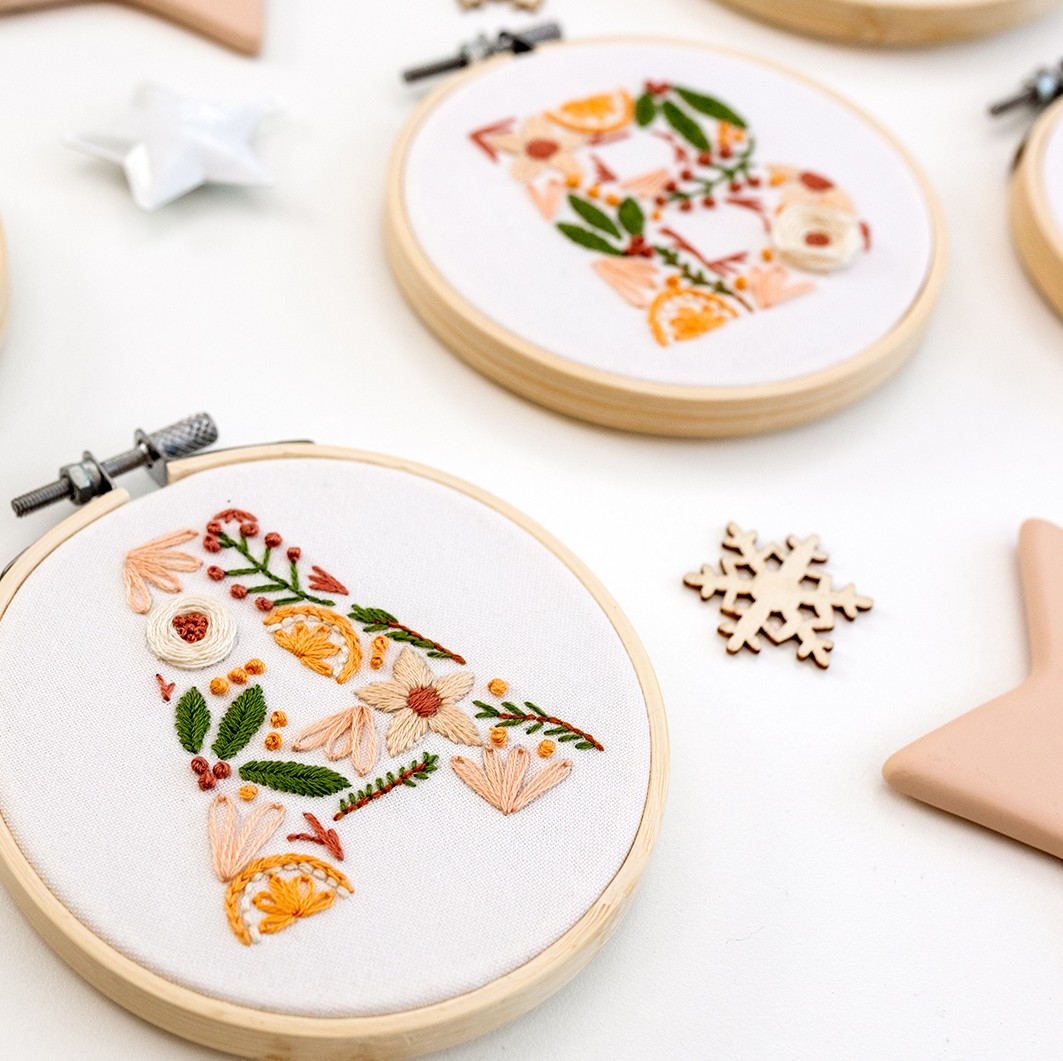
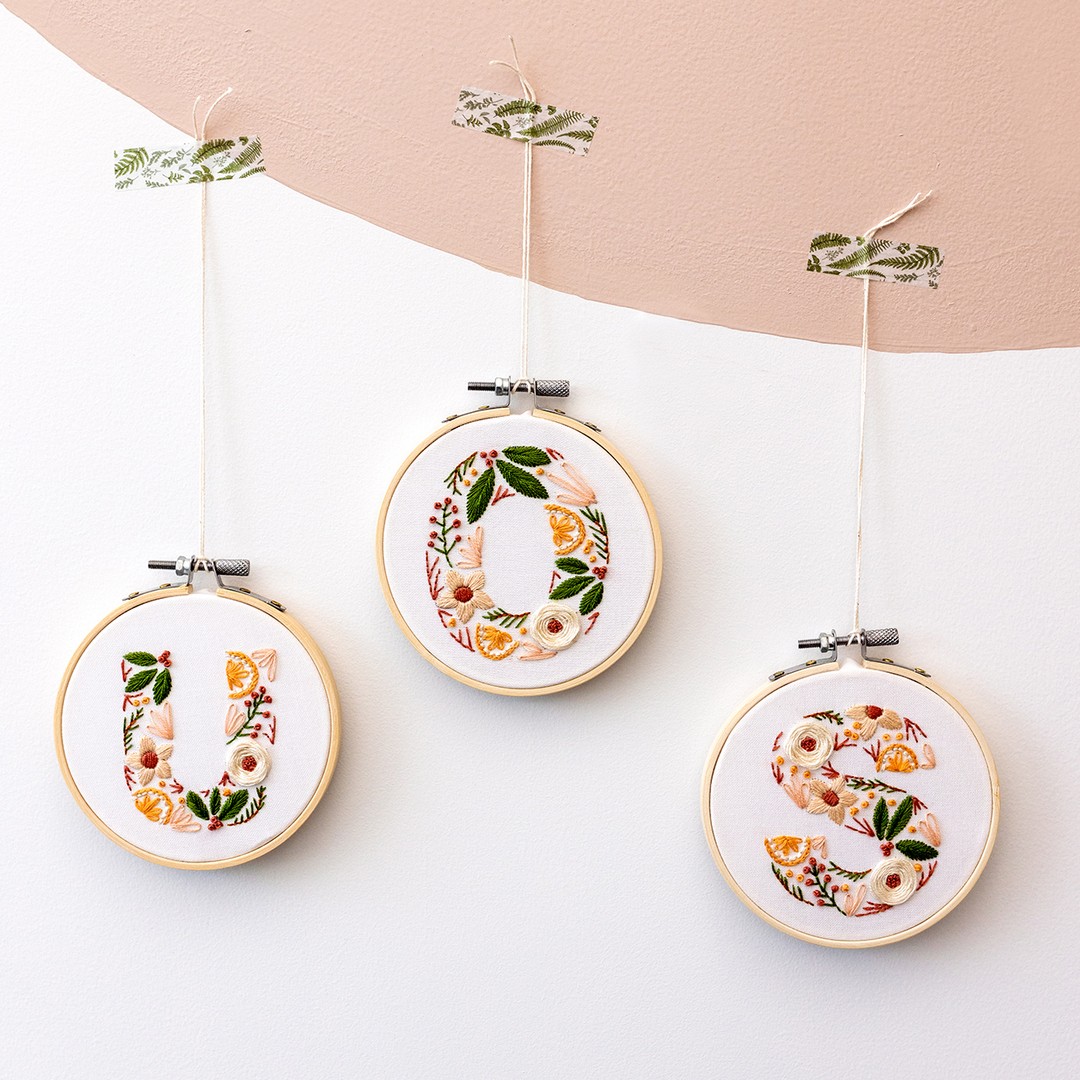
Next, here's my Festive Alphabet pattern. So many elements on this pattern feature Back Stitch! For example the sprigs, the rind of the dried oranges and the holly branch stems. Isn't it so versatile?
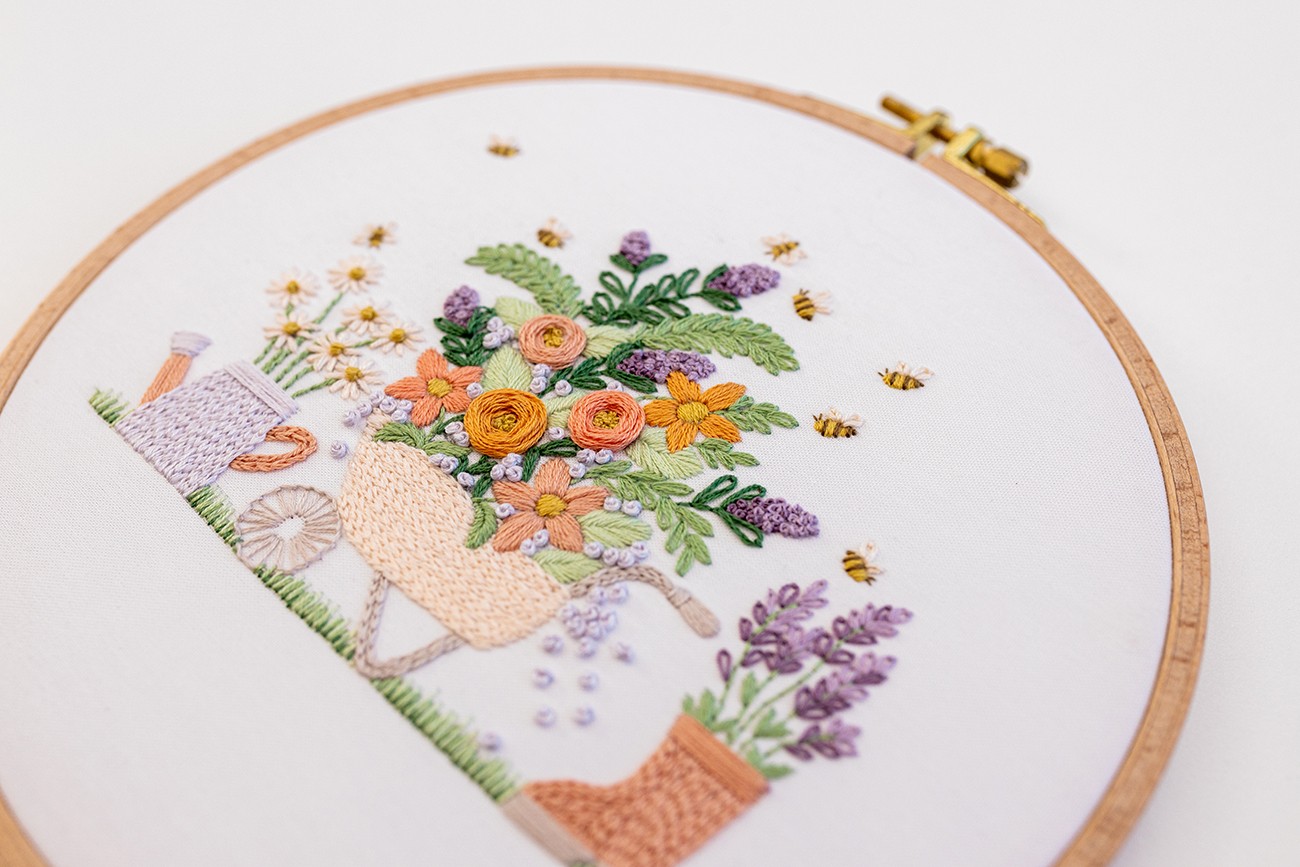
Also, here's my Gardening Bee pattern. Most of the plant stems are worked with Back Stitch. Isn't this so gorgeous?!
Conclusion
Yay, I am so happy that you can now do back stitches! This is one of the first beginner embroidery stitches I recommend people learn, as it is perfect for lines and outlines. So keep practising, and I promise you’ll be a pro in no time at all!
So there you have it, my tips and steps so that you understand how to do back stitch. Woo-hoo, go you!
What's next?
Our beginner embroidery kits are a favourite among new stitchers for their simple, step-by-step instructions and beautiful designs that make learning easy and fun. Whether you’ve been wanting to learn embroidery or are just searching for your next creative hobby. These kits are the perfect introduction to embroidery.
Why people love our beginner kits:
-
Everything you need is included: fabric, thread, hoop, and more!
-
Clear instructions to guide you every step of the way.
-
Gorgeous designs you’ll be proud to display.
Our most popular beginner kits


